by Andrew Markel, Editor
Brake & Front End magazine
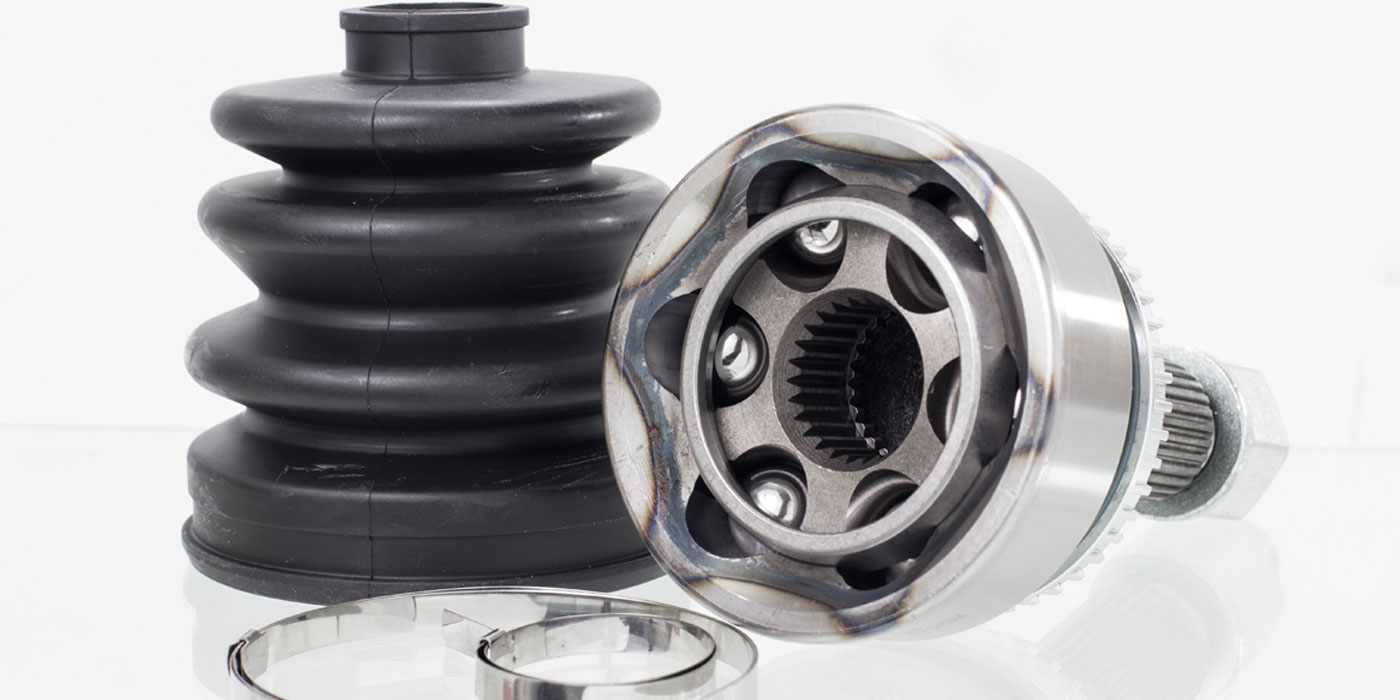
Here is a scenario: A shop buys a set of pads and rotors from your store and performs a brake job on a vehicle (nothing special about the vehicle). The front pads and rotors are replaced. On the test drive, the vehicle had zero signs of pulsation, even after an aggressive break-in procedure.
Six months and 6,000 miles later, the customer is back complaining of a pulsation in the pedal and the shop want to return the pads and rotors. So, what happened in 6,000 miles? Did the customer tow a boat? Drive in the Rocky Mountains? Participate in a high-speed police chase? Even if the customer answered yes to one of these events, chances are it did not cause the pulsation they are now experiencing.
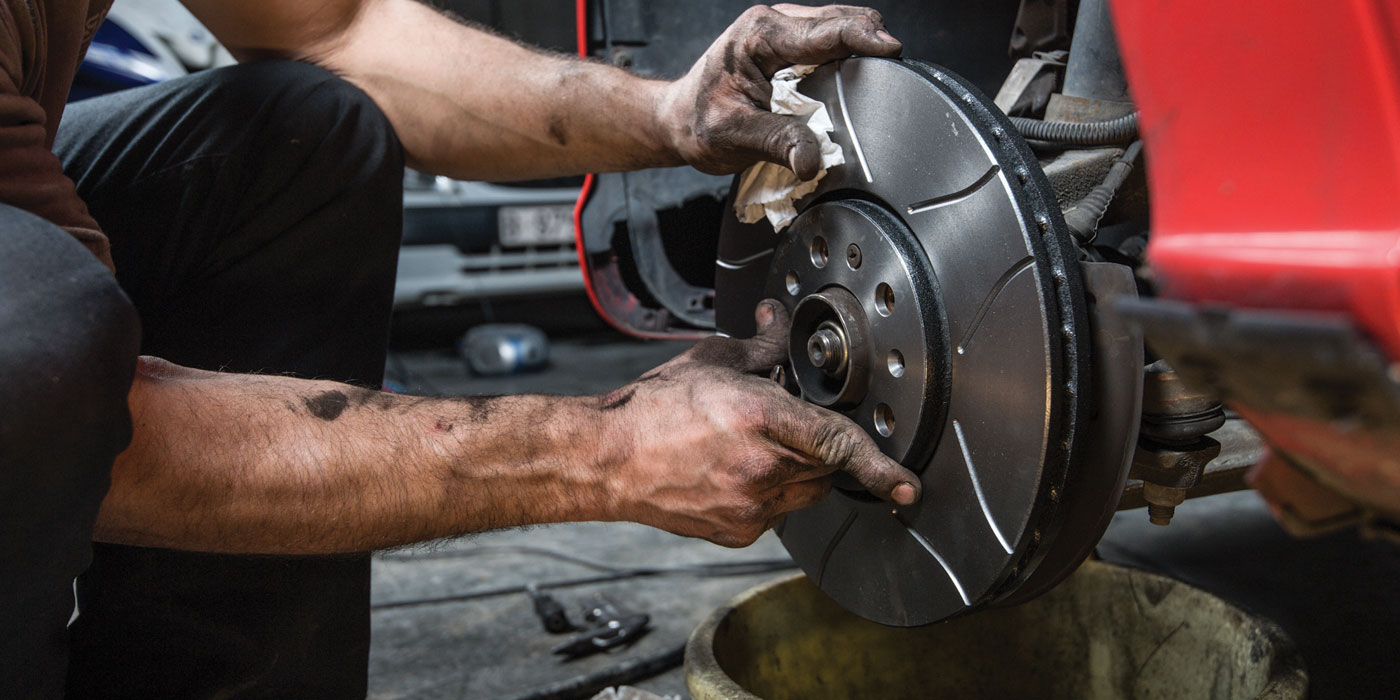
When the wheels are removed, there are no visual indications the vehicle has a pulsation problem. The pads are worn evenly. The rotors look fine, with very little visible wear, corrosion or excessive heat.
So what next? The technician could machine the rotors on a bench lathe and put them back on the vehicle. On the test drive, the pulsation will be gone, for at least another 6,000 miles.
The next time the customer is back at the shop with the same pulsation problem, the shop could go all out and install new pads and rotors. They could even search the repair information for TSBs related to pulsation. Surely, they could not be alone! When the vehicle is given back to the customer, chances are there will not be any pulsation, at least for the next 6,000 miles.
If you were reading the above scenario and saying to yourself, “What was the runout and disc thickness variation (DTV) measurement?” you are ahead of the game. If you did not think about this and wanted to know what brand of pad or rotor the technician installed, you need a little help.
Chances are the factitious shop in the example lost a lot of money on this brake job along with the customer’s trust. Also, the parts store has to deal with a return. But, it did not have to happen like this.
Measuring runout and DTV would have taken 20 to 25 minutes during the initial brake job. Also, they could have sold the customer the services or parts to correct the problem. These “preemptive” diagnostics can prevent pulsation comebacks and false returns to shops.
What Really Happened?
Let’s say the vehicle had .003-inch of lateral runout when measured at the outside face of the rotor. If this vehicle is riding on 205/55R16 tires, in one mile, the high-spot with .003-inch of runout goes past the caliper approximately 836 times. Over 6,000 miles, that spot on the rotor will go past the pads more than five million times! Every time this spot passes the pads, a little bit of the rotor’s material is removed. Over five million revolutions, enough material is removed to create a thickness variation that can be felt by the driver.
The Rotor is Not Warped
In the scenario, I never used the word “warped.” The words “warped” and “warping” should never be applied to brake systems.
In the scenario, there is no twisting or bending. There is only wear and changes in the dimensions of the rotor. Heat was not a force distorting the rotor by softening the metal. The heat used to cast the rotor is three to five times greater than the heat produced in the most aggressive braking down a mountain road. Most engineers will tell you, rotors will crack long before they are distorted by heat.
Sure, a customer can experience a pulsation or judder after higher-than-normal brake temperatures are experienced. About 99 percent of the time it is not the fault of the rotor; it is the pads. The pad’s friction material has been unevenly deposited around the face of the rotor. This creates uneven braking forces as the dissimilar sections pass by the pads. This type of pulsation or “judder” will typical go away after a few hundred miles.
Parallelism
The main culprit of the chronic pulsation was variations in disc thickness or parallelism. The two friction surfaces of a rotor are designed to be parallel to one another within a certain specification. The allowable tolerance is known as parallelism. It is also known as the rotor’s disc thickness variation, or DTV. In order for the pad to stay in contact with the rotor, the piston must extend or be pushed back into the housing as force is applied. This creates the pulsation in the pedal that is most noticeable to the driver.
Every time the low spot passes by the caliper, hydraulic pressure at the caliper drops. This produces less braking force as this area passes by the pads. This also can affect braking distances.
Runout
Runout is defined as the amount of lateral (side-to-side) movement of the rotor as it rotates 360 degrees. The specification is usually provided as “TIR” or “Total Indicated Runout.” TIR is defined as the runout measured on the vehicle or installed runout. TIR includes all factors that can influence the amount of runout. Runout can be in the hub’s flange, the rotor or it can be caused by improper lug torque.
You also could call TIR the stacked runout of the hub/rotor/wheel assembly. All of the above factors add up to give the rotor’s TIR. This brings up an important point. The average allowable TIR specification for late-model vehicles is between .001-inch and .003-inch. This is the maximum allowed! Some manufacturers have specified .000” of runout.
Runout will not cause pedal pulsation on vehicles with floating or sliding calipers and the caliper housing is free to move and the runout is not excessive.
Under these conditions, the caliper will “follow” the runout. The caliper housing will move in and out in relation to the runout. This movement will not cause the caliper piston to move. This is a key point to understand. No piston movement results in no fluid movement in the hydraulic system. If there is no fluid movement, the brake pedal won’t move or pulsate. So, a key point to understand is runout generally does not cause pulsation. Runout causes thickness variation that leads to pulsation problems.
Solutions
The first solution to solve pulsation problems is to prevent them from happening in the first place. For every brake job, runout and DTV should be measured and documented. This includes pad slaps, machining rotors and installing new rotors.
Second, pay special attention to the mounting flange. Taking time to clean the mounting flange on the hub can remove corrosion and debris that can cause runout. Also, pay attention to lug nut torque.
Third, the shop should take time to service the caliper, slides and hardware. If a caliper cannot float or retract the piston, it can result in increased wear that could lead to DTV and pulsation. New abutment clips are being used on some new vehicles that help to push the pads back from the rotor to reduce drag and allow for less wear on the pads and rotors. Failing to renew these components as part of a brake job could reduce the life of the brake job and increase comebacks.
Fourth, using an on-the-car lathe can help to reduce runout. The main advantage of these lathes is that they are able to cut a rotor in its operating plane. This means the rotor is machined to match the hub.
Fifth, flange runout can be corrected with tapered shims that are available to correct a runout of 0.003 inch (0.075 mm) to 0.009 inch (0.230 mm). A runout of more than 0.005 inch (0.125 mm) at the bearing flange cannot be corrected by the use of a shim. The combination of rotor and bearing flange could prevent the rotor from being turned. Checking bearing flange runout should be performed after friction surface runout. Changing the rotor position 180 degrees on the bearing can check flange runout. If the high spot changes 180 degrees, the rotor could be OK or ready to turn after the bearing is shimmed.
Components should be marked as you perform an inspection of the assembly. Check the bearing endplay. Mark the relation of the rotor to the bearing flange. Mark the rotor high and low runout spots on the rotor friction surface. The low spot marked as zero and the high spot as the maximum value. Mark the high and low runout spots on the bearing flange with the same method and the rotor friction surface.
Once a technician has collected the data, the following comparisons should be made. Compare bearing flange to rotor runout position. If the shim cannot correct the runout, the bearing should be replaced. Check the rotor thickness. The minimum dimension should be stamped or cast into the rotor. There has to be enough thickness to cover the runout without going below the minimum thickness.
Pulsation comebacks cost technicians and shops parts and lost labor. Rolling the dice every brake job by not eliminating runout or trusting in new rotors will cost you more than the time spent measuring with a dial gauge and micrometer.