Before a customer can install a new set of gaskets, they first have to remove the old gaskets. On older cast iron engines, gasket removal is usually no big deal. The old gasket material can usually be scratched off the surface with a gasket scraper tool. Stubborn residue can also be loosened with chemical gasket remover.
On late-model engines, it’s a different story. Aluminum is much softer than cast iron and much easier to scratch, nick and gouge. Any imperfections that are left on the sealing surface of aluminum engine parts may prevent a new gasket from sealing properly, creating a potential path that may allow coolant, oil, vacuum or compression to leak.
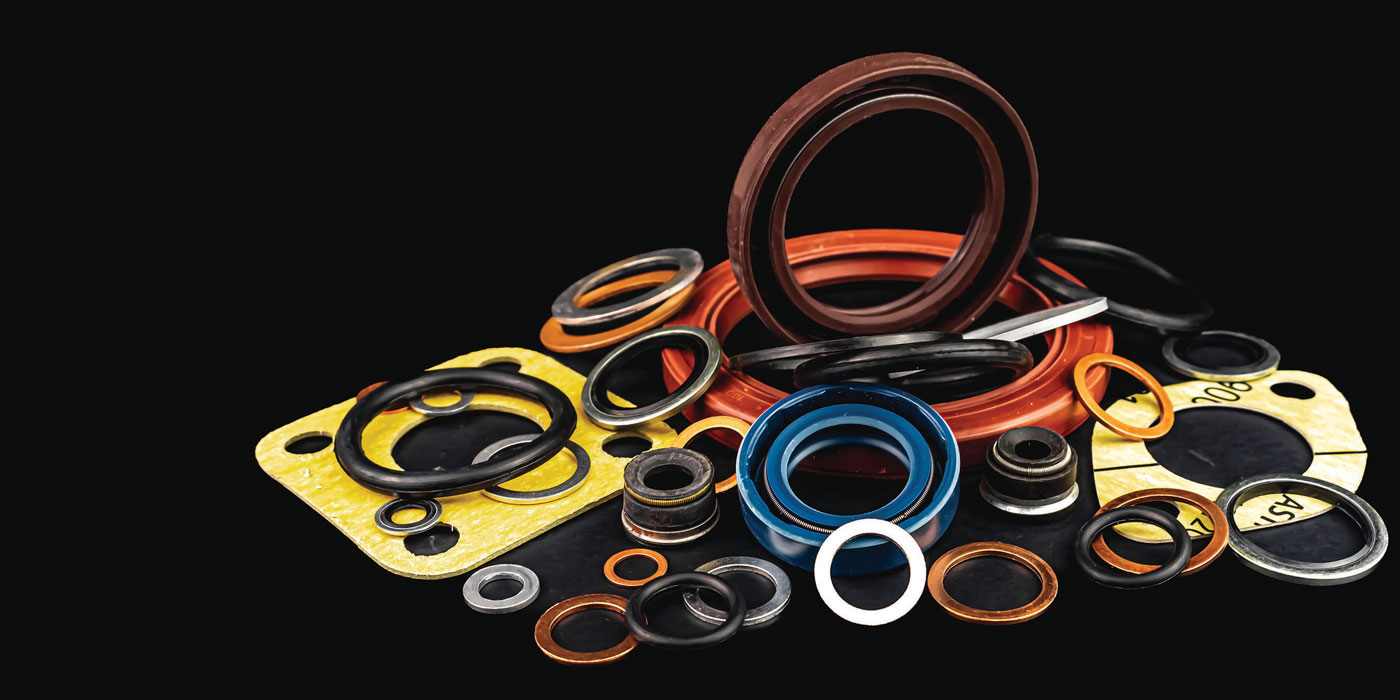
All gaskets require a clean, smooth, flat surface to seal properly. But certain gaskets, like MLS head gaskets, require an extremely smooth and flat surface finish (20 to 50 microinches or less). Many aftermarket replacement MLS head gaskets have an extra thick surface coating to accommodate a certain amount of imperfection that comes with mileage and wear. Even so, caution should be used when removing old gaskets so as not to damage the surface.
If an old gasket doesn’t peel off clean when parts are disassembled, the remnants will have to be chemically and/or mechanically removed. The safest approach is to spray the surface with an aerosol gasket remover so it can loosen the old gasket material. After the chemical has been allowed to work for 10 to 20 minutes, the old gasket can be scraped off using a sharp gasket scraper tool. The surface can then be wiped clean before the new gasket is installed.
CAUTION: Customers should be advised to follow the directions on the product label. The chemicals in some gasket removers may attack certain plastics.
A gasket scraper is the proper tool to use for this purpose because it is designed to remove gaskets (unlike an ordinary putty knife, which is not). A gasket scraper has a sharp beveled edge so it can get under, lift and shear away old gaskets from metal surfaces. The trick to using a gasket scraper correctly is to scrape at an angle that is almost parallel to the surface. Holding the tool at a shallow angle allows it to get under the gasket without digging into the metal or scratching the surface.
Abrasive sanding disks have many uses but they are not recommended for removing gaskets on soft aluminum engine parts. Here’s why: the rapid cutting action of an abrasive disk in a drill can easily grind off gasket material but it can also just as easily grind into the metal scuffing the surface or leaving a depression that might allow a new gasket to leak. Using an abrasive disk to clean off a head or deck surfaces on an engine that requires an MLS gasket risks ruining the mirror-like finish, which may require requiring resurfacing the head and deck if an OEM MLS replacement head gasket is being installed.
Most soft-faced head gaskets and composition intake manifold gaskets do not require a sealer, and using a sealer may in fact damage a non-stick or silicone coating on the gasket causing it to leak or fail. Soft-faced head gaskets should usually be installed dry. On some intake manifold gaskets, a small dab of RTV sealer may be required to seal the corners. Sealer should not be used on molded rubber pan or cover gaskets as this may cause the gaskets to slip. Sealer should only be used on cork or paper gaskets, or on bare steel gaskets as recommended by the gasket manufacturer.