I love this topic. Unfortunately, many brake rotors end up unnecessarily in the scrap pile. But I also know the reasons why, and if I’m looking to place blame, well, we only can blame ourselves. But is it bad? I’ll get into that down the page, but let me set the stage first.
Types of Rotors
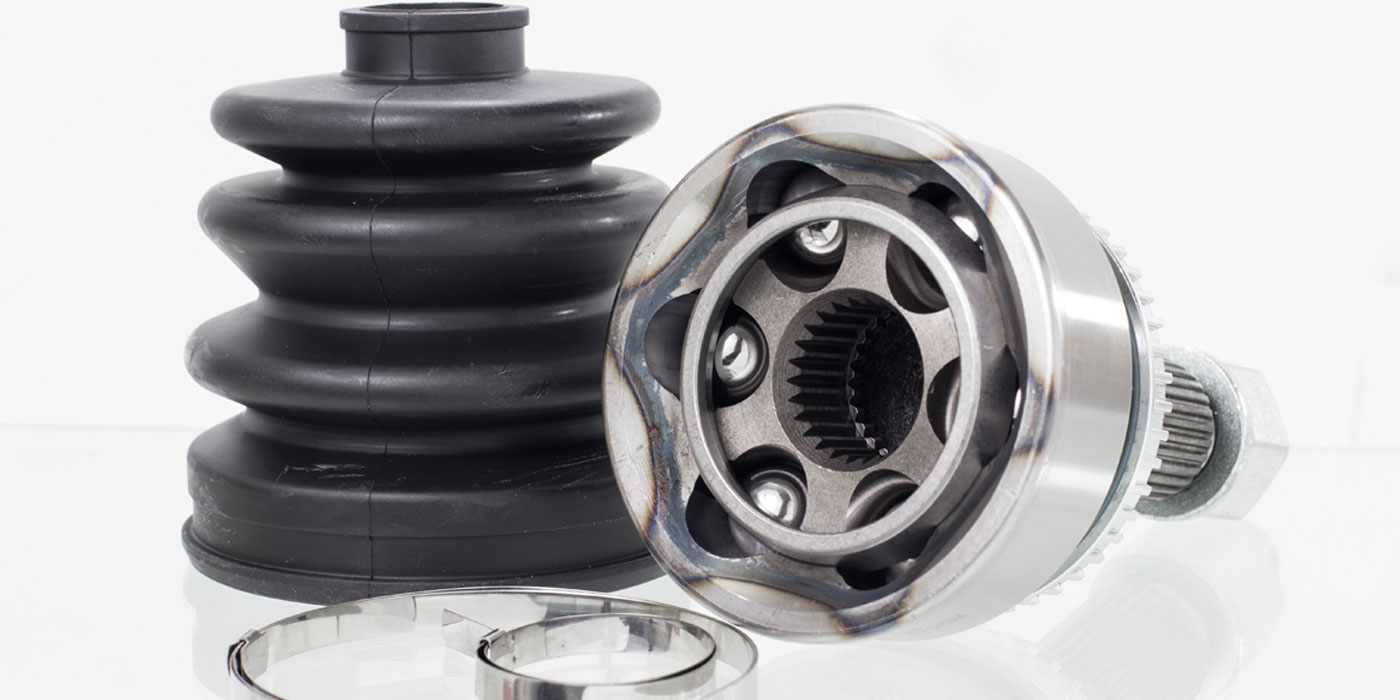
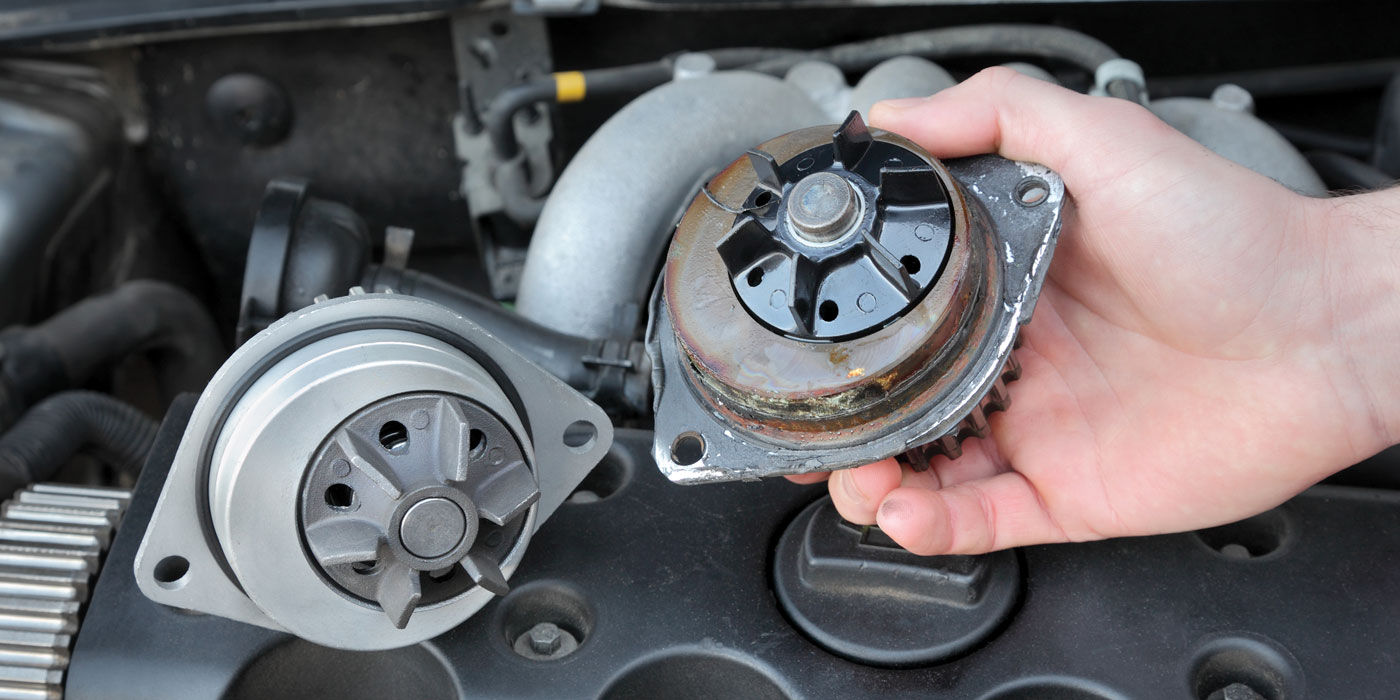
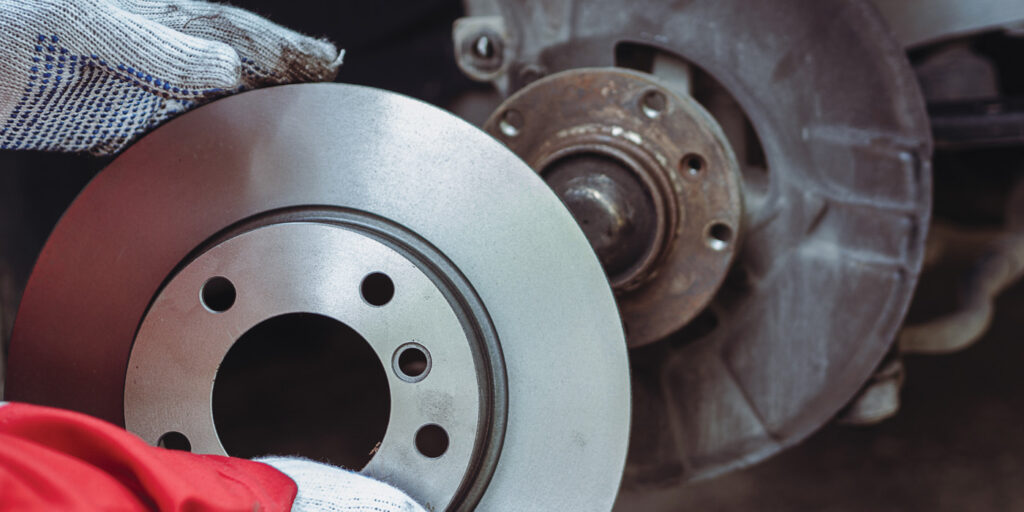
Up through the mid-‘70s, the majority of all brake rotors “on the road” were hubbed rotors. What this meant is that the hub was cast into the rotor. Most cars and trucks up through that time were rear-wheel drive, and if they had disc brakes as an option, 99% of the time it was on the front only. The front wheel bearings of these cars were housed in the hub of the rotor. The rotors were very heavy and expensive to produce, and the wheel bearings were the tapered style of roller bearing that required regular cleaning, greasing, adjustment and seal replacement.
As front-wheel-drive cars grew in popularity in the mid-‘70s, so did the hubless or “hat” style of brake rotor. Hubbed rotors remained in regular use up through the mid-‘90s, but their popularity steadily declined until the hat rotor became almost the sole design choice of auto manufacturers. Hat rotors were far easier to service, with the front wheel bearings being sealed units mounted into the front steering knuckle. Hat rotors simply slid into place, and they were lighter-weight, less expensive and easier to manufacture.
It’s All About the Metal
Brake rotors get hot during braking, and they need to dissipate heat quickly. Functionally, all a brake rotor really does is absorb and dissipate heat. If a rotor gets too hot, it will cause brake fade and may easily warp, diminishing braking performance and causing severe brake vibration. The heavier the vehicle or the faster you’re going, the larger the rotors need to be, because the harder the brakes work, the more heat they produce.
So, the size of a brake rotor is proportionate to the type of braking it will be required to do. What’s a larger rotor? It’s more metal. What’s a thicker rotor? It’s more metal. And what determines how much heat can be absorbed and dissipated? The physical amount of metal. When a rotor wears, the diameter stays the same, but they get thinner, and when you resurface them, you’re removing even more material. The less metal you have, the less heat the rotor is able to absorb and dissipate.
How Brake Pads and Rotors Interact
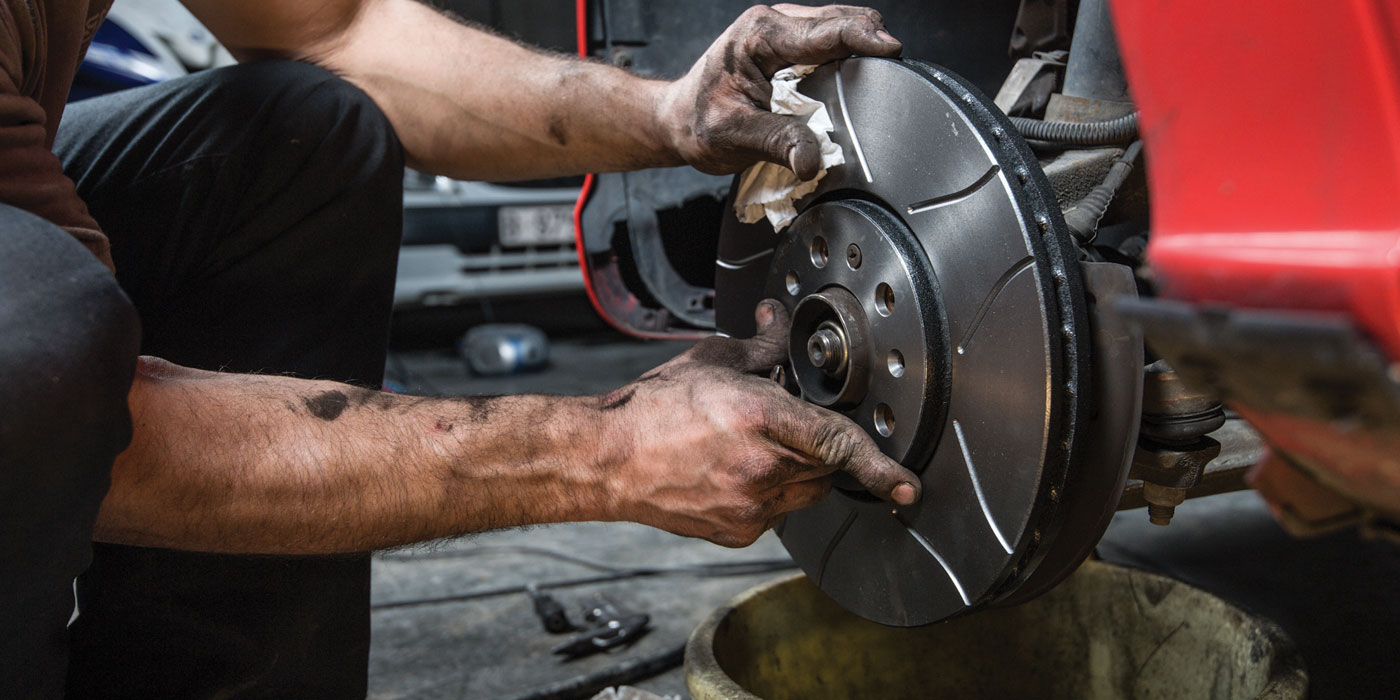
Under normal braking, the surface of the rotor will become grooved to varying degrees based upon the pad material. This doesn’t affect the braking; because it occurs as a result of the contact between the brake pads and rotors, the surface of the two remain contoured. However, this surface is not acceptable when installing new brake pads and prevents the correct break-in of new pads, and it causes uneven pad wear and noise. “Pad slapping” is the comical term we use to describe replacing brake pads without resurfacing or replacing the rotors.
New brake pads have a break-in or “bedding” process that consists of repeated moderate braking. The purpose of the process is to bring the pads up to high temperatures in a controlled manner. When this occurs, the pad and rotor will transfer a thin layer of friction material to each other, allowing them to properly seat together. This is a very important aspect of brake service, as it ensures maximum braking and prevents brake fade, and this process only will occur correctly when new pads are mated with new or resurfaced rotors.
Turning the Rotors
We call it “turning,” because that’s the name of the machining process in which a workpiece is rotated against a fixed cutting tool. Any surface irregularities, including any grooves formed from normal service and also any rust or pitting, can be removed by turning the rotor.
In addition to surface condition, rotors often suffer from different forms of distortion. Lateral runout is the side-to-side movement of a rotor, measured with a dial indicator while rotating it by hand. Parallelism is the thickness of a rotor measured at multiple spots around the circumference for comparison. When describing this to a customer, we generally use the basic term “warped” rotor. These conditions will cause a vibration during braking, and in some cases, just driving at higher speeds.
Either one can be caused by normal wear or by incorrect mounting or installation of the rotor and wheels. Customers know what it means to have a warped rotor, and few of them care about the more technical terminology. Turning a rotor will correct these problems as well.
Turning a rotor involves a number of steps, the first of which is measuring it to determine if it still will be above the minimum thickness afterward. In most cases, the minimum thickness is cast or stamped into the rotor, but often it’s rusty and difficult to find, so we generally have to look up the specification anyhow.
Typically, when you turn a rotor, you’re going to remove a total of about .015 inches to .020 inches (15 to 20 thousandths of an inch) of material. It may be less on a really clean rotor, or more on a rusty, pitted or warped one. After measuring the thickness of the rotor and assessing the condition, you’ll know whether you have plenty of material left to turn it, or whether it’ll be too thin when you’re done.
If you determine the rotor can be turned, the next step is to remove it from the vehicle and mount it on the brake lathe. Hat rotors require a thorough cleaning and rust removal from the mounting surface to ensure they seat properly on the brake lathe. The mounting surfaces for a hubbed rotor are the wheel-bearing races, from which you can just wipe away the excess grease.
When the turning is complete and you’ve taken a final measurement to ensure the rotor is still at or above minimum thickness, the next step is to put a non-directional finish on the brake rotor, which aids in proper break-in. The most popular method is to use an angle-grinder with a cleaning disc, and it literally only takes a few seconds per side.
The final step includes washing the rotor in a mild soap-and-water solution. Though not visible, small metal particles remain on the rotor after turning, and these particles will embed themselves in the pad and prevent an effective break-in. Washing the rotor removes these particles. Hubbed rotors will require removing all the old grease, since a wheel-bearing clean and repack is a normal part of this service.
Back in the Day
There was a time when the hum of a brake lathe was almost as constant as the ticking of the clock on the shop wall. Hubbed rotors were big, heavy and expensive, and they lasted a long time, because they could be turned and reused multiple times before they were too thin to put back in service. The expectation of customers during this era was that their rotors would be “turned” during brake service. Even with the additional cost of labor, it still was far more expensive to replace them.
As the hat rotor slowly became the predominant rotor in use, many other changes were taking place in the automotive industry. Auto parts stores were opening up to meet the demands of the increasing number of cars on the road, and parts were being manufactured overseas. Price competition was high, and the more parts that were produced (hot rotors included), the less expensive they became.
At the same time, technician salaries were increasing, and suddenly, the labor cost to turn rotors was increasing. Then there was the process of turning the rotors. My intent in describing the process was to provide an indication of the amount of work involved, but any machining process requires very specific knowledge and procedure as well.
Turning a rotor is a machining process that can be done wrong as easily as it can be done right. Traditional hubbed rotors were very heavy, and as a result easier to turn because the weight inherently reduced vibration, and mounting them on the lathe was easy and straightforward.
Two things kill a rotor when turning it. One, vibration; and two, incorrect mounting. Guess what? You probably figured this: Hat rotors are lightweight, so it’s much more difficult to prevent vibration, and they’re commonly mounted incorrectly on the lathe. Most of this happens because of incorrect training, or simply a shop not having the proper lathe adapters, or both. But that subject can be reserved for a whole different article.
The trouble involved with turning hat rotors was sort of a nail in the coffin for the whole process. In today’s shops, you rarely hear the sound of a brake lathe. A good majority of the rotors that are scrapped could be turned and returned to service. But a new set of rotors is less expensive than the labor to resurface an old set (hubbed rotors being the exception). Then when you factor in the reality that they quite possibly could be machined incorrectly – causing a comeback – it simply doesn’t make sense.
Replacing them is quicker, a shop makes money on the parts, technicians make more money on labor and they can get onto the next job quicker. It’s easy to think it’s wasteful when the old rotors could in reality be turned, but on the other hand, maybe it’s good for the economy. Shops make more money and parts stores make more money too. And the old rotors don’t end up polluting a landfill; they’re one of a scrapper’s favorite metals.
They provide a source of income for scrappers and metal-salvage yards. Some shops save them and haul them in for scrap themselves. It’s good pizza money for the shop … or perhaps a cold beverage of sorts.
When and Why
Technically speaking, any brake rotor only needs replaced when it can no longer be resurfaced and remain at or above the minimum thickness specification. In the real world, as you can see, this really only holds true for hubbed rotors, which for the most part we only see on older cars and trucks. Resurfacing these rotors are the only ones we can justify, when you compare the expense of replacement.
However, even if a rotor can be turned from the standpoint of thickness, there still are two other factors that can deem it scrap instead. One is cracks that occasionally result from the continuous heat-and-cooling cycle of a rotor. If a rotor is cracked, it should be replaced. The other is hot spots, which occur when rotors aren’t broken in properly. Pad material is deposited unevenly on the rotor, and these spots cannot dissipate heat properly, causing brake vibration.
Hot spots are easily identified by an obvious discoloration on the surface of the rotor. In some cases, these can be removed by resurfacing the rotor.
Selling Your Customer
Your customer probably just wants a quick answer about replacement. Here’s an easy approach: Due to the critical importance of breaking in new pads, which relies on the surface of the rotor, any time you’re replacing pads, the rotors should be replaced as well – unless it makes economic sense to turn them. And that’s the key. With any rotor problems, unless it makes economic sense to resurface, replace them. As with any brake work, don’t forget to make sure caliper and pad slides are clean and working properly, and always torque those wheels.