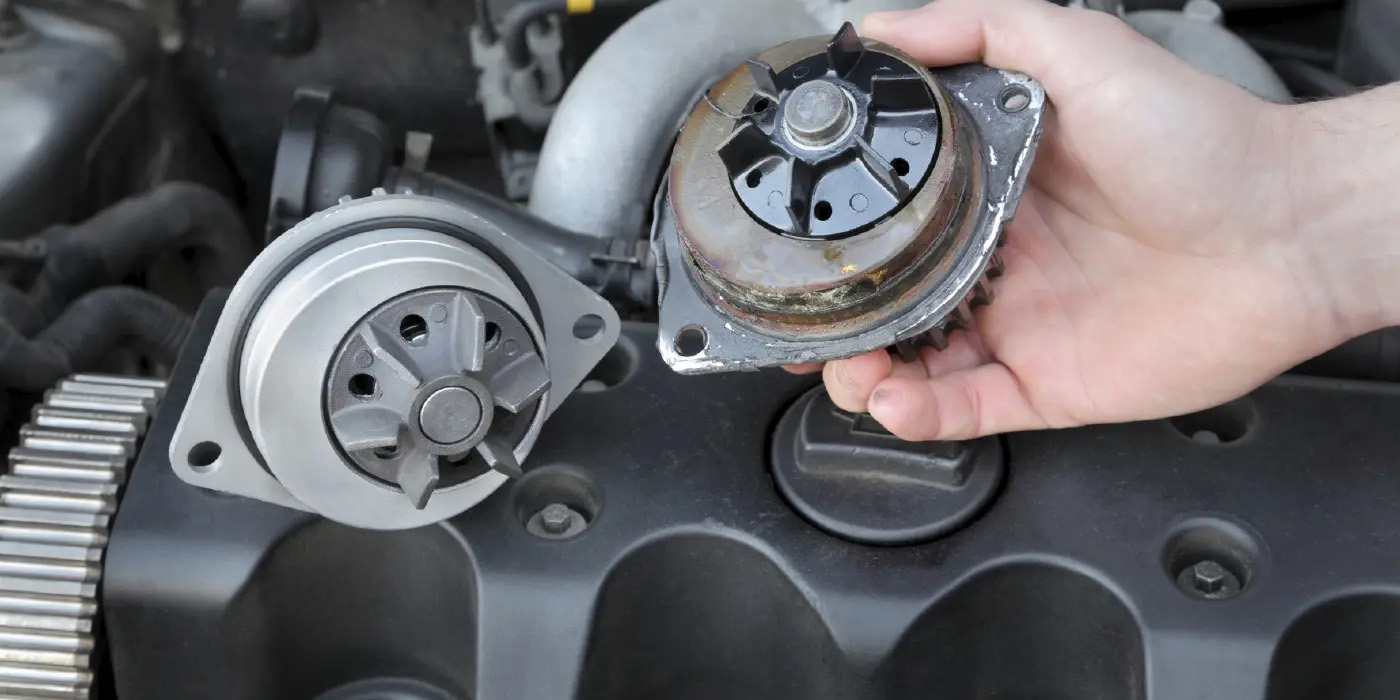
Like most things unseen, people don’t really understand electricity. If a gasket or hose is leaking, they can see it. If a mechanical component is worn out or broken, they can see it. But if the ignition system isn’t producing a spark, or the charging system isn’t charging, or the starter isn’t cranking, it’s harder to diagnose what’s causing the problem. Consequently, many ignition modules, ignition coils, alternators and starters are replaced unnecessarily.
When the ignition or rotating electrical part you just sold to a customer fails to solve his problem, he brings it back because he thinks the part is no good, or he realizes he misdiagnosed the problem and wants his money back. Either way, it costs you and your store time and money. It also costs the parts supplier for every warranty return that comes back, whether the part is really defective or not.
Virtually every major parts supplier says that up to 90 percent of the parts they receive back under warranty have “no fault found.” In other words, there’s nothing wrong with the part. It came back through the pipeline unnecessarily and cost everybody time and money. Warranty costs must be factored in when a supplier sets its prices, so ignition and electrical parts with high warranty return rates obviously carry an additional cost burden. Part suppliers say if installers would do a better job diagnosing faults before they replace parts, it could eliminate a lot of these unwarranted warranty returns. That would allow more competitive pricing and eliminate a lot of parts bouncing back and forth between installers, auto parts stores, warehouse distributors and suppliers. Let’s look at some specific kinds of parts to see what might be done differently to zap unwarranted warranty returns.
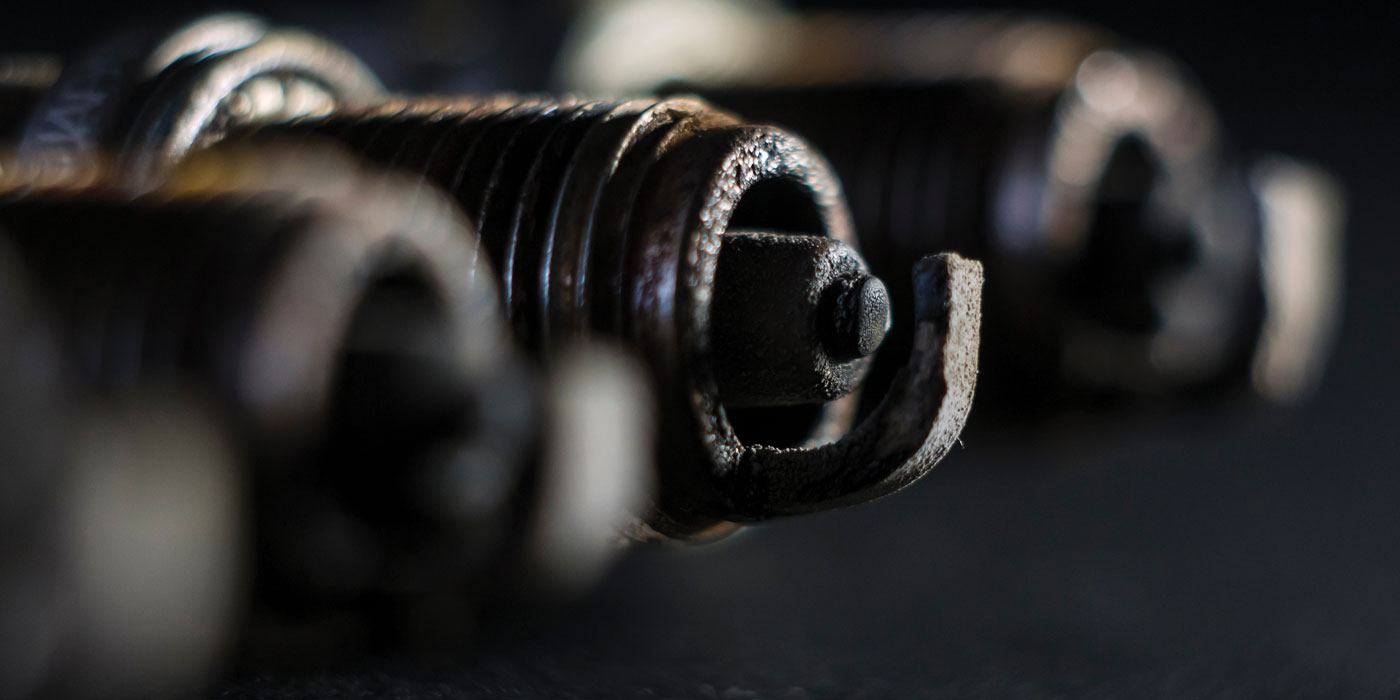
IGNITION COILS
Most late-model engines have one of three basic types of ignition systems: Distributorless Ignition System (DIS), Coil-On-Plug (COP) and Coil-Near-Plug (CNP).
Coil diagnosis consisted of checking for spark. If there wasn’t a spark, the next step was to measure the primary and secondary resistance of the coil terminals with an ohmmeter. The resistance of the primary winding is typically very low, usually less than a couple of ohms and as low as 0.6 to 0.7 ohms on some individual coils. The resistance of the secondary windings, by comparison, is quite high. Segmented bobbin designs are usually in the 5,500 ohm range while serial bobbin designs usually fall in the 10,000 to 14,000 ohm range.
If the coil was shorted internally or had opens, the resistance readings would be out of specifications telling you the coil needed to be replaced. If the coil tested okay, other checks would include checking for voltage at the coil when the ignition was on and checking the distributor ignition pickup and module if there was no trigger signal reaching the coil to turn it on and off. Through a process of elimination, the fault component could be easily isolated.
With DIS, coil diagnosis is more difficult because of the additional components in the ignition system. Instead of one coil, there are now two, four, six or eight depending on the application. The trigger signal that turns the individual coils on and off starts at the crankshaft position sensor, goes through the powertrain control module (PCM) and ends up at each coil or the coil pack control module. A sensor glitch, computer fault, bad coil pack module, or loose or corroded wiring can all cause a no spark condition. Because of this, the diagnostic process takes longer and there is a greater risk of replacing the wrong component in the ignition system.
One way to minimize the risk of an unnecessary coil replacement is to bench test the old coil or coil pack to verify it has failed. With individual coils, this can be done with an ohmmeter. Coil packs with a control module in the base, however, are not so easy to diagnose, especially if the individual coils cannot be removed or disconnected for testing. For these kind of applications, the installer should make sure he has followed the OEM diagnostic charts and has done all of the required tests to rule out other possibilities.
Future coil problems can often be avoided by cleaning the connectors and terminals when the new coil is installed. Corrosion can cause intermittent operation and loss of continuity, which may contribute to component failure. Applying dielectric grease to these connections can help prevent corrosion and ensure a good connection.
On high-mileage engines with distributors or DIS ignition systems, the spark plug wires should also be replaced following a coil failure to ensure a good, hot spark.
ALTERNATORS
One reason alternators have a high failure rate is because they are always working under a load. If the charging system fails for any reason or does not produce enough power to meet all of the vehicle’s electrical demands, the battery will quickly run down. Once battery voltage drops below a certain threshold, the on-board electronics, ignition and fuel systems may stop working normally and cause the engine to stall. A low battery may also not have enough reserve power to start the engine, so the vehicle will be stranded until the charging problem can be diagnosed and repaired.
Charging problems can be caused by electrical faults in the alternator or voltage regulator by poor wiring connections at the battery or alternator, or by a slipping or broken drive belt. The voltage regulator may be inside or on the back of the alternator (“internally regulated”), or somewhere else under the hood (“externally regulated”). Also, the PCM may regulate the charging voltage directly.
The actual output voltage produced by the alternator will vary depending on temperature and load and will usually be about one and a half to two volts higher than battery voltage. At idle, most charging systems produce 13.8 to 15.3 volts with no load on the system, such as lights or accessories.
The alternator’s current output (the number of amps it produces) also increases in proportion to the electrical load on the charging system and engine speed. Output is low at idle and increases with RPM. Maximum output is typically achieved at speeds above 2,500 RPM, and may range from 80 up to 150 amps or more depending on the unit.
If the charging voltage is low, or the alternator isn’t putting out enough current to keep up with the electrical loads in the vehicle, many people think the alternator is bad and needs to be replaced. But many times, the alternator is not working properly because of poor electrical connections in the charging circuit. Loose or corroded connections increase resistance and restrict the current flowing through the circuit. The connections may appear to be clean and tight, but unless they are tested there is no way to know if they are causing the problem.
Use a voltmeter to check for any “voltage drop” across a connection when the engine is running. A voltage drop test is done by setting the voltmeter on the two volt scale, then touching the positive and negative test leads on opposite sides of a connection. If there is resistance in the connection, some of the voltage will try to bypass the resistance by flowing through the voltmeter. If you see a reading of more than 0.2 volts, it means trouble. Ideally, the voltage drop should be zero, or less than 0.1 volts.
Places to check for voltage drops include the positive and negative battery cable connections, the alternator BAT+ power connection and the engine ground strap(s). Poor ground connections are an often overlooked cause of low charging output and alternator failure. Voltage drops on the positive side of the charging circuit can cause undercharging. Voltage drops on the negative side can cause overcharging (fools the voltage regulator into thinking the battery is low).
Alternator warranty returns can be minimized by bench testing the customer’s old alternator on an alternator test stand. If the alternator test is good the problem is obviously not the alternator.
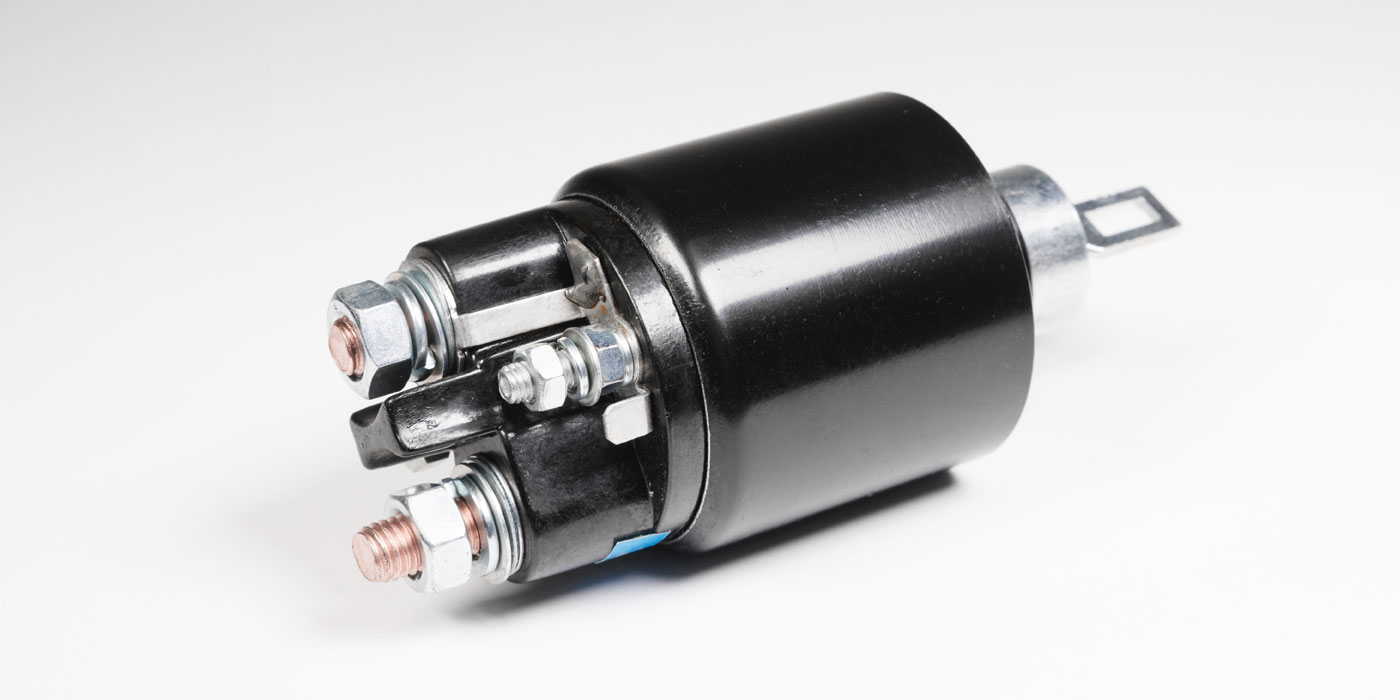
STARTERS
Cranking problems can be caused by a low battery, loose or corroded battery cables, a broken or missing ground strap, a weak starter solenoid, a bad starter drive, a damaged flywheel (broken teeth), starter misalignment, loose, corroded or damaged wiring in the starter circuit, a faulty ignition switch, park-neutral safety switch, brake safety switch, the anti-theft immobilizer system, a mechanical problem inside the engine (such as a coolant leak causing hydrolock), or even the wrong oil viscosity (oil too thick for cold temperatures). Yet many people jump to conclusions and blame the starter if the engine fails to crank.
As with alternators, the cranking circuit needs to be thoroughly inspected to rule out all other possibilities. If full battery voltage is not reaching the starter, the problem is in the ignition circuit (ignition switch, park/neutral switch, wiring) or the anti-theft system. If the starter is getting its normal dose of power, but is not cranking properly, the fault may be the starter motor or the starter drive.
Starters should also be bench tested to see if they are good or bad before the starter is replaced. The bench tester will check the cranking speed and amp draw and give a “good” or “bad” indication based on the test results. A good starter will usually crank the engine at 250 to 500 RPM and draw 60 to 150 amps.
An unusually high current draw and low free-turning speed typically indicate a shorted armature, grounded armature or field coils, or excessive friction within the starter itself (dirty, worn or binding bearings or bushings, a bent armature shaft or contact between the armature and field coils). The magnets in permanent magnet starters can sometimes break or separate from the housing and drag against the armature.
If you’re taking in an exchange starter and it’s the permanent magnet type (usually a small motor), handle it with care. Dropping it can damage the magnets inside.
Helping your customers pinpoint the real problem offers the solution to two problems. First, the customer is able to fix the problem correctly the first time, and second, your store won’t be saddled with unnecessary and unwarranted returns.
Lower returns starts with proper diagnosis and installation. Through education, stores can help their customers “fix it right the first time,” while also reducing return rates that end up hurting everyone.