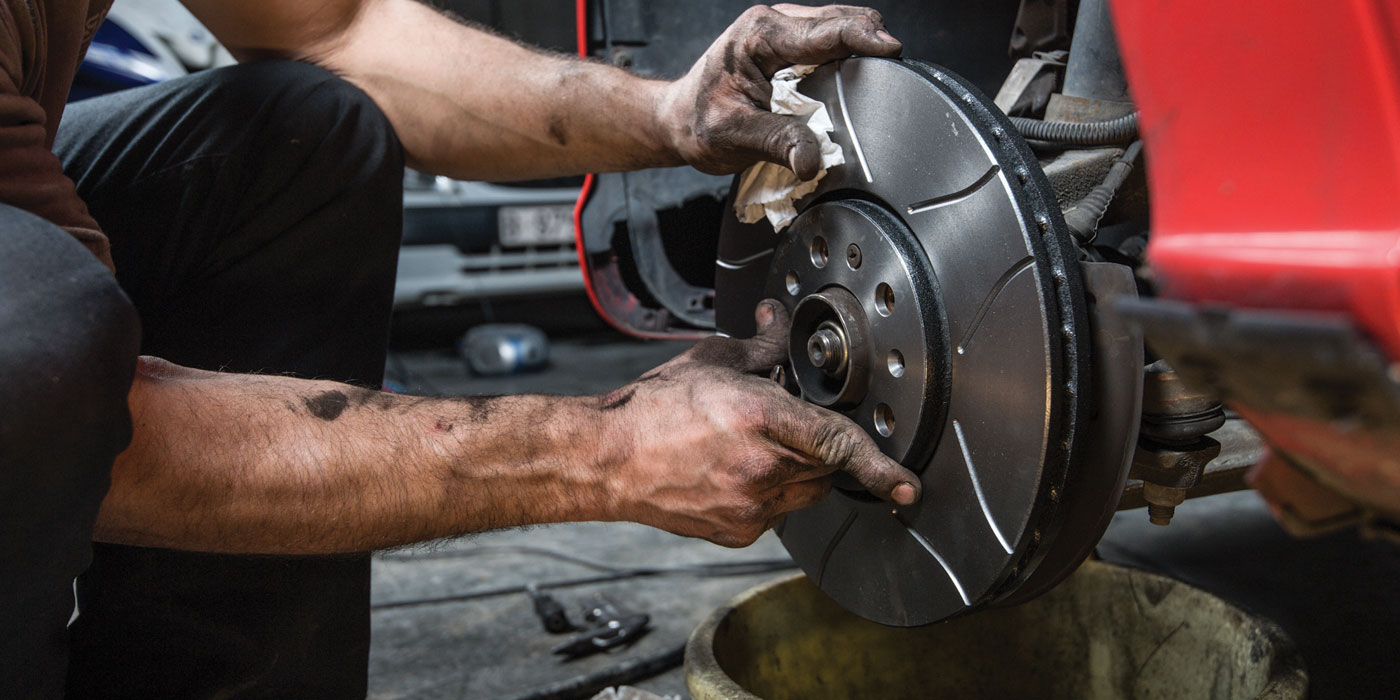
Since the popular introduction of disc brakes into the domestic market during the 1960s, the symptoms of a defective disc brake caliper haven’t changed. In the vast majority of caliper failures, the caliper piston sticks in the caliper bore, which causes the brake pads to drag against the brake rotor. The driver recognizes a sticking caliper piston as a brake pull or steering pull. On the other hand, a technician might recognize a defective brake caliper as the cause of excessive brake pad wear or as a broken caliper bleed screw.
During the early 1970s, disassembling the caliper was always frustrating because the caliper pistons were normally rusted into the caliper bore. Assembly was equally frustrating because the piston had to slip past the caliper dust boot and piston O-ring at the same time. The trick to installing the piston into its square-cut O-ring was to use a one-foot length of 2-inch board to “wobble” it into place. Given the above conditions, this is why a modern remanufactured caliper “loaded” with new brake pads is a true bargain when doing any professional brake repair.
Caliper Failure Points
The main failure point in any caliper is the dust boot that prevents water and dirt from entering the caliper bore. Even one small pin hole in the dust boot will eventually cause the piston to seize.
Keep in mind also that modern, lightweight brakes can routinely exceed 500 degrees F. operating temperature. These high temperatures eventually harden both the rubber sealing boot and the square-cut o-ring located inside the caliper. Since the caliper o-ring is actually designed to reduce rolling friction by retracting the caliper piston a few thousandths of an inch from the rotor after each application, it’s important for the o-ring to remain as pliable as the day it was new.
Last, the interface between the caliper piston and the O-ring is the primary wear point in the caliper assembly. Most caliper pistons eventually corrode or produce fretting wear at the O-ring interface. At this point, I think it’s fair to point out that the cost of the piston and seal alone usually exceeds the cost of a remanufactured caliper.
Installation Tips
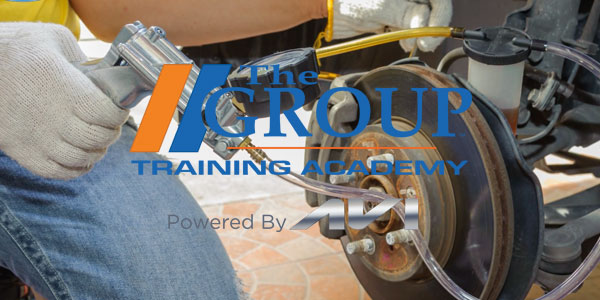
When installing any reman caliper, it’s important to lubricate the caliper guides and all metal contacting surfaces with synthetic caliper grease. It’s also important to install all new brake pad shims and mounting hardware as required. For safety’s sake, all mounting bolts should be lightly lubricated and torqued to specification. In addition, the brake hose should be inspected for weather-cracking. When installing the remanufactured caliper, always use new copper sealing washers to seal the hose to the caliper.
Base-bleeding a new reman caliper usually requires a pressure or vacuum–actuated brake bleeder. In any case, follow the auto manufacturer’s recommendations for base-bleeding the brakes. On some applications, the anti-locking braking system (ABS) unit must also be bled by entering the ABS bleeding mode with a professional-level scan tool. In this mode, the scan tool activates the ABS pump and valves to push air out of the system.