This always has been one of my favorite jobs. I’m not sure why, but it just always seems fun. The notion of replacing a head gasket can make a lot of people nervous, but it’s a rewarding job that really isn’t too difficult, and it’s the perfect type of entry-level engine work for a DIYer.
The important part is preparing for the job and going into it with the right mindset. First of all, it takes time. I’ve heard the stories of “the guy” who was replacing head gaskets in two hours. Is this possible? Probably. There are a few vehicles from the past that have been so simple in design, I can see removing the cylinder head in an hour. But I can’t see too much cleaning going on in between, so I’d have to question the ultimate quality of the job.
Take those stories for what they are and prepare yourself for a more realistic investment in time. As a professional technician, the “easier” ones usually can be done in five to six hours. I’ve also had plenty where it took an entire eight-hour day just to get the cylinder head back on, and the next morning to finish reassembly. And then there are some that can absorb a few days. Take into consideration this is all happening in a shop, with all the right tools and many years of experience.
The point is this is a job you don’t want to rush. Many people are out to prove some type of super-human mechanical speed, or perhaps they watched too many online videos about how fast someone else did it. Most likely, you’re dealing with a fishing story. Don’t get hooked by the bait. Relax, prepare, take your time, and you can brag about how good of a job you did – not how fast you did it.
Preparation
One of the most important parts of preparation is the work area, and by “area” I’m referring to the amount of space you have to keep parts organized as you remove them. It’s often surprising how many things you must remove, and the worst thing you can do is lay them all in a pile. You should have ample workbench space, or a multiple-tier cart works well too.
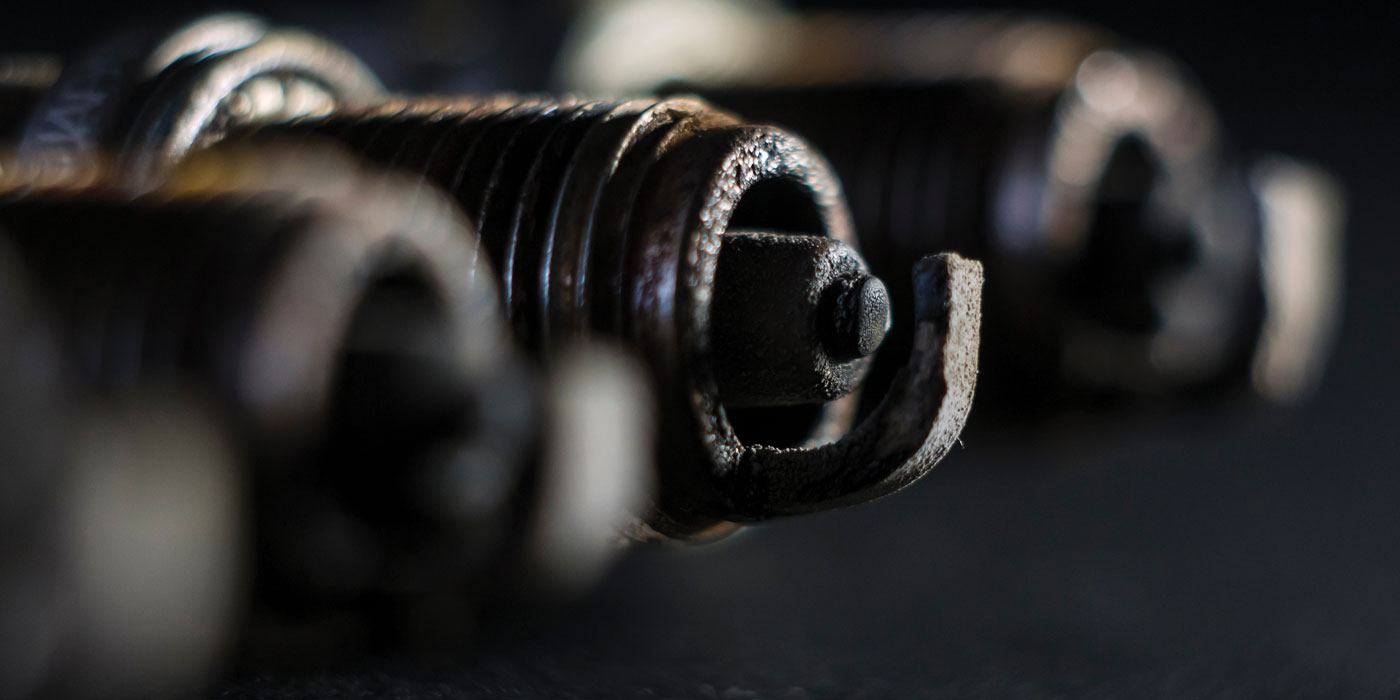
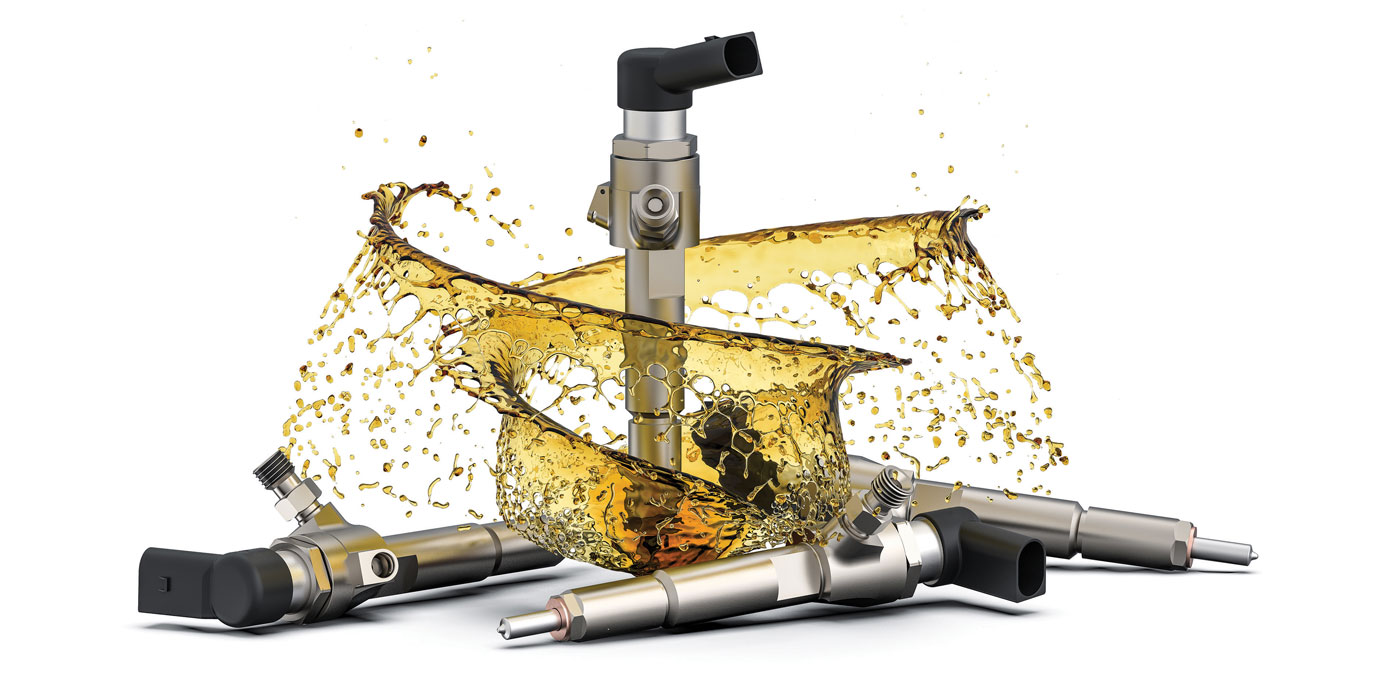
Preparation also begins by researching the job. Your main objective is to determine if you’ll need any special tools (don’t forget many head bolts themselves require special sockets), and also make a list of the parts you’ll need. You’re almost always going to run into something extra, but it’s nice to have the main parts on hand. In addition to the head gasket, you may end up replacing hoses and possibly the timing belt or chain. You’ll need coolant and oil, filters, a valve-cover gasket and maybe you want to do spark plugs while you’re in there.
Not only does the research give you a big picture of what you’re getting into, but it also could make you realize you’re going to be in over your head, and that’s something that’s better to figure out before you begin.
A big part of preparation is knowing why the head gasket went bad in the first place and being ready to solve that problem as part of the job. It’s possible that the head gasket failed simply due to high mileage, but just as possible that it was caused by overheating. What’s the overall condition of the cooling system? Do you know when the thermostat was replaced last? If not, now’s the time. Any leaks should be fixed, and correct cooling-fan operation confirmed. It’s important that any cooling-system issues are resolved before starting the engine with your new head gasket.
One of the biggest questions is with the timing belt(s) or chain(s). Do you replace them? On some engines, cylinder-head removal doesn’t involve either, so naturally it’s not a factor on these. But the majority of engines today are overhead-cam engines, and the belt or chain must be removed in order to remove the cylinder head.
It’s a major consideration because if they’re worn, they may fail, and in the worst-case scenario cause major engine damage, but it’s also a general mechanical way of thought. Even though it’s extra work to remove the remaining pulleys and timing covers to replace the belt or chains, since you’re already halfway there, “now’s the time to do it” is a technician’s way of thinking. This part of the job can often make or break someone’s decision to do it. Some timing procedures are simple and quick. Others require special tools and can be very difficult to perform.
Service information is the last piece of preparation. You’re going to need torque specifications and sequences, as well as engine timing and other information depending on the vehicle.
Many people think they’ll just take some photos or a video with their cellphone first, rather than an organized disassembly. This is fine, and it’s certainly not bad to have these as a reference – but it’s an approach that never works for me. For one, I didn’t learn that way. Cellphones didn’t exist. And it always seems like no matter how many pictures you take, the one you really need is the one that you somehow didn’t take. This is where your work area pays off.
Doing the Job
Overall, it’s a “simple” process of taking everything apart, cleaning, then putting it back together. But the disassembly is key. It’s easiest to start with the air cleaner and engine covers, or any large assemblies that need to be removed. You can get them out of the way quickly. Next, I move on to disconnecting the exhaust, in which the manifolds generally stay on the cylinder head, and you just have to unbolt the downpipe(s) or converter(s).
With inline engines, the intake manifold usually will remain installed as well. You may want to replace intake and exhaust manifold gaskets while you’re doing the job, but since both are often backed up to the firewall, it’s much, much easier to do on the bench.
Then, it’s on to everything else, which of course varies depending on the engine. This is where all the hoses, wiring connectors, brackets, accessories, valve covers, timing covers and fuel lines are removed or disconnected.
The key here is to utilize the space you have, and as you remove one component, place it on the bench with all of the related fasteners, such as the screws, bolts, nuts or clamps. Do this every step of the way – lining things up as you remove them – and when it comes to reassembly, you won’t have to question or figure out what goes where. You’ll basically work in reverse order. It’s a great system and you won’t regret it.
The Cylinder Head
After you’ve removed everything and are ready to unbolt the head, stop. Step back, take a break and look things over one more time to make sure everything is disconnected. Use wire ties or bungees to hold pesky hoses and lines out of the way. No cylinder head is light – especially with the manifolds on – and the worst thing is to lift a cylinder head off and get it halfway out only to find there’s still a hose attached or to get hung up on things that are in the way.
The final step before removal is to check the service manual and follow the proper sequence for loosening the head bolts. Even though the head is a thick chunk of metal, and you can’t see it happen, it will deform as the head bolts are loosened or tightened. An incorrect sequence either way can cause the head to warp or crack.
After removing the head bolts, it’s time to remove the head, and it’s good to have someone help. Sometimes the heads may seem stuck, but gentle prying should easily pop them loose. If not, you may have missed a head bolt. Be sure and double-check the service manual. With the head removed, it’s time for cleaning.
Cleaning
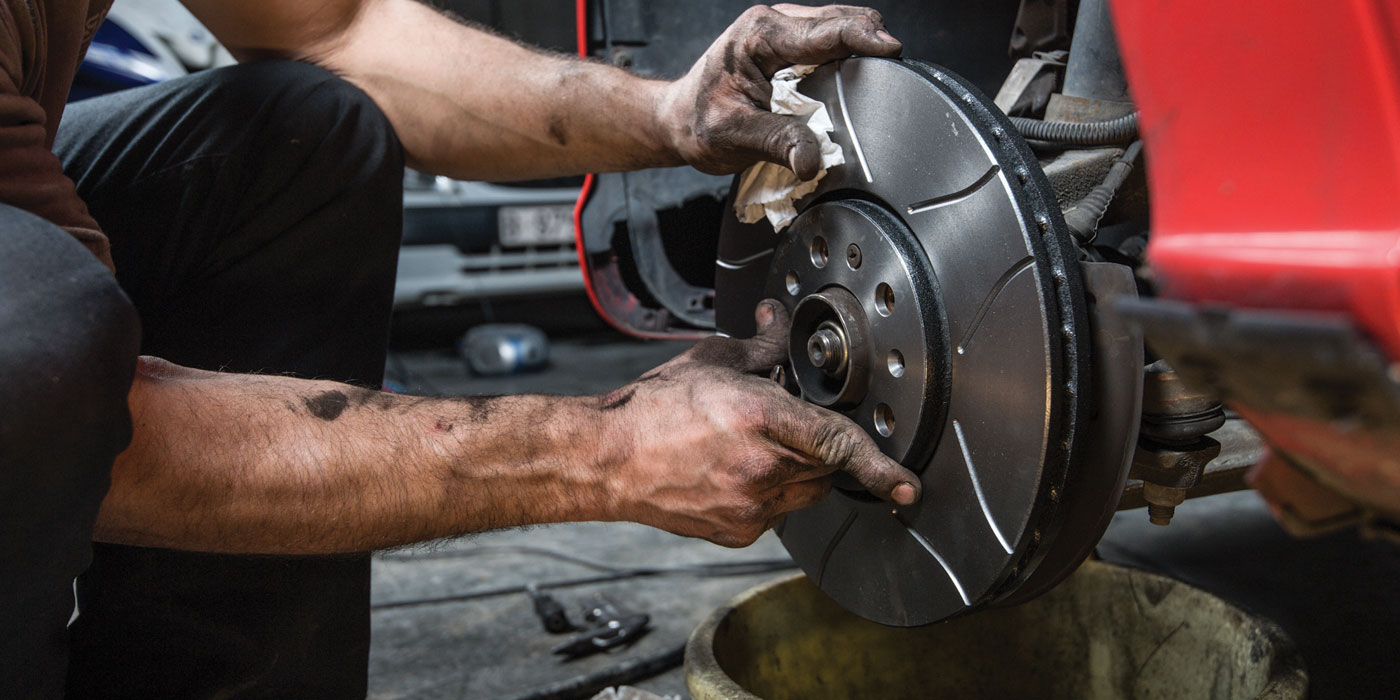
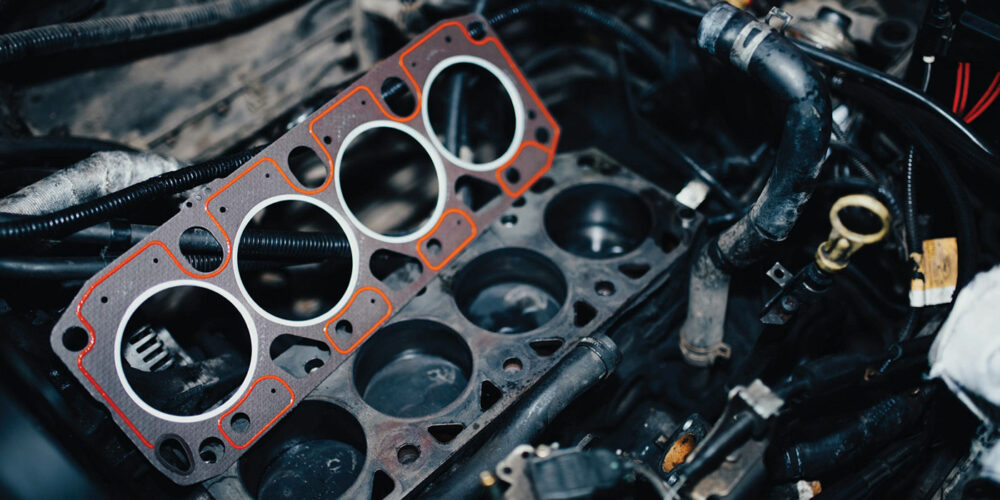
The first step is to clean the cylinder-head mating surface because you’ll need to inspect it for cracks or warpage. It’s possible to have a bad head gasket and a cylinder head that’s OK, but generally speaking, you’re going to have some warpage and it probably has high mileage, so you might already be planning on having it reconditioned at a machine shop. If this is the case, you won’t have to worry about cleaning – just removing the manifolds and they’ll do the rest. This is an advantage because they’re also better-equipped to inspect for cracks you may not see.
Either way, you’re going to have to clean the block mating surface, and whether you’re doing just this or both the block and head, it’s going to take time and a gentle approach. Brake/parts cleaner works well to soften up remaining gasket material, and knife-edge scrapers will easily remove the larger pieces of gasket material. You can use razor scrapers as well, but be cautious of gouging the metal.
After removing the bulk of the old gasket, a fine scouring pad soaked with brake/parts cleaner works well to remove the remaining gasket material. Don’t use anything too aggressive, and don’t push too hard. Just gently work at it until the surface is clean.
The most common mistake is using an air-powered angle grinder with a surface-conditioning disc. They work great and they work fast, but the problem is they remove material, and it happens fast. This is the worst thing you can do for any sealing surface. Admittedly, we’ve all done it. When these first became popular, they were great, and they still are, but in the case of cylinder heads and blocks, we’ve realized the damage that’s actually caused.
After cleaning, you’ll want to use a straight edge to check the flatness of both the cylinder head and the block. Check the service manual for the specification of maximum allowable warpage. It usually isn’t much, and reassembling with a warped head or block is just a waste of time. It’s rare to see a warped block, but it does happen, so always check.
The final step of cleaning is to clean the bolt holes. A round wire brush works well for this along with parts cleaner and compressed air, but above all, the most important thing is to make sure the holes are clean and dry. This is important for torque, but it’s critical that no oil or coolant gets trapped in the bolt holes. When this happens and you torque the bolts, the hydraulic pressure can crack the block.
Installation
With everything clean and ready to reassemble, confirm the correct head-gasket position using the service manual or information that came with the gasket. Most gaskets are marked to indicate which side goes up. This is critical for cooling, and for oil supply to the head.
When installing the head, it’s even more important to have someone help. Again, due to the ease of installation, in many cases you’ll have the manifolds installed and it’s really easy to knick or damage the head gasket, especially with the exhaust manifold. Having a helper ensures that you clear the gasket and place the cylinder head straight down onto the block.
It’s a good idea to have a head bolt ready to thread into one hole and hold the head in place. Before you install the rest, check the service manual for the exact procedure. Some require lubrication, some do not; some require it in specific locations. Be sure to follow the procedures exactly, as well as the torque sequence and specifications.
Wrapping it Up
Once the cylinder head is torqued down, you’re home free to reassemble, and if you performed an organized disassembly, you’ll have things back together in no time. Be sure to change the engine oil and filter because some coolant usually finds its way into the crankcase – no matter how well you’ve drained it. Before firing it up, double-check the cooling-system bleeding procedure and have the right amount of coolant on hand. Overall, it’s just a fun, rewarding job. Enjoy!