Wheel-bearing pre-load and geometry are terms that don’t get used too often in practice. But in reality, every time we remove or install a wheel bearing, we affect both – whether we consciously think about it or not.
Many of us clocked countless hours cleaning and repacking tapered roller bearings, long before the Generation 1 press-in sealed wheel bearings first became popular in the late 1970s on front-wheel-drive cars. Even when we began to see sealed wheel bearings on the front, tapered roller bearings usually still were used in the rear, in the hub of a brake drum or rotor.
When it was time for installation and tightening the wheel-bearing nut, we referred to the process as “adjusting the wheel bearings.” We knew if we didn’t do it right, they would be too loose or too tight. If they were too loose, the excessive end play could cause alignment and braking problems, as well as accelerated wear on the bearings due to an uneven load distribution on the rollers. If they were too tight, the bearings would run hot, and it wouldn’t take long before the excessive heat would cause the metal to break down.
We learned by doing and asking, and we did it all by feel, since there was no internet or proliferation of information to throw around fancy terms. Nonetheless, if you get technical about it, we weren’t actually adjusting the wheel bearings. We were setting the pre-load. We did it by tightening the nut moderately as we rotated the bearing hub, which itself may have been just a hub, or a brake drum or rotor with the hub built in.
The initial moderate tightening made sure the bearings were all properly seated. Then, while still rotating the bearing hub, you backed off the adjustment nut, and then tightened it again until it was just “snug.” The final step was to back off the nut just a few degrees and install the nut retainer and cotter pin. You could just barely feel a slight movement of free play when you were done.
It must have been 20 years before I realized there was a more “official” process for setting pre-load on tapered roller bearings, but in that time, I never had one fail. When I finally read the process, it was identical to what I’d learned – with the exception of torque specifications, which I’d be willing to bet were almost dead-on to what I was doing by hand. Chalk one up for old school.
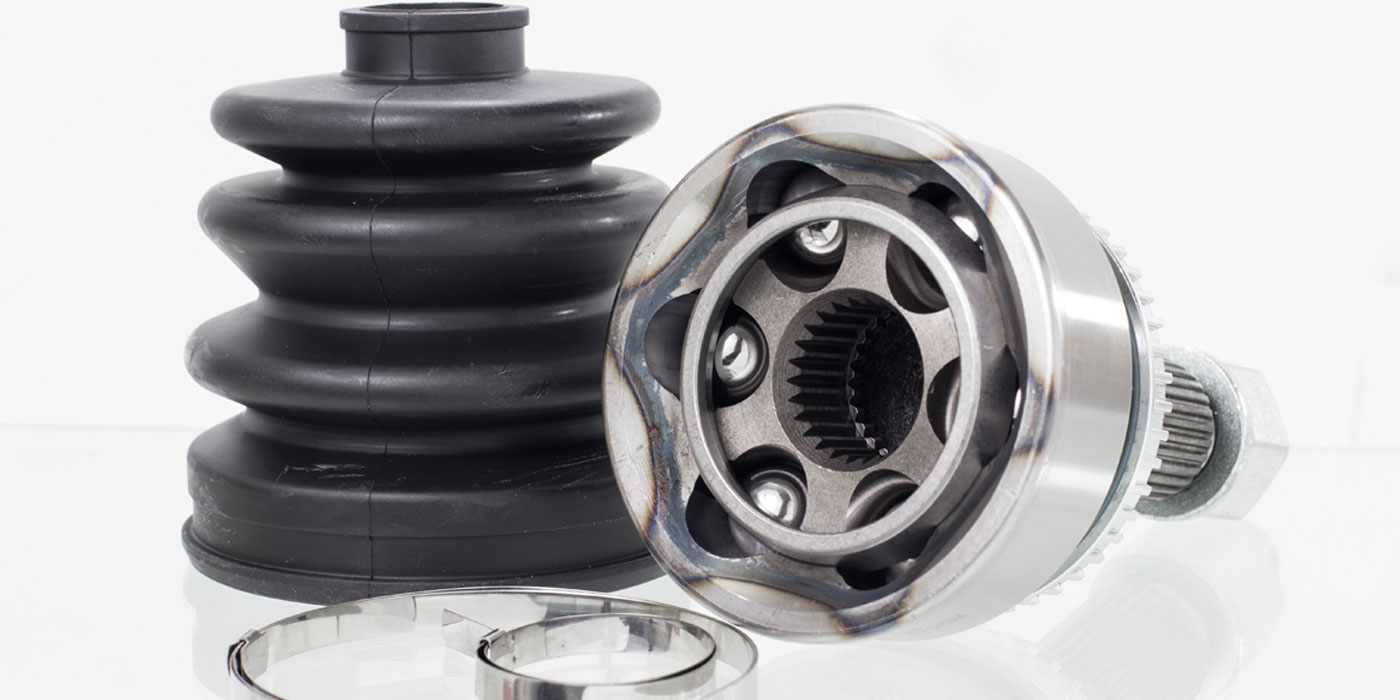
Tapered roller bearings are almost a thing of the past for everyday repair shops, but bearing pre-load is just as important on the Generation 1, 2 and 3 sealed wheel bearings on today’s vehicles. You could argue it’s more critical than ever. Plus, these bearings make it easier to demonstrate the concept of wheel-bearing geometry.
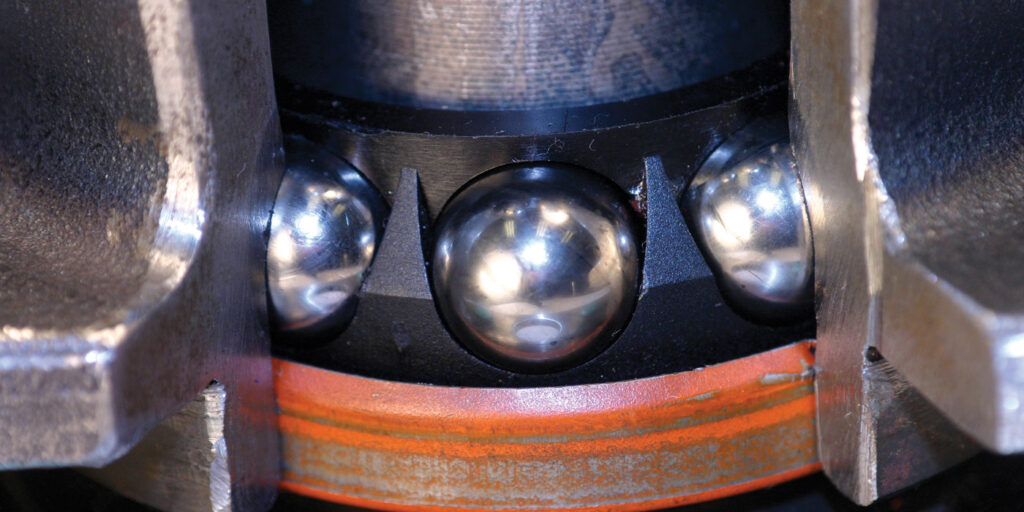
Almost all of the Gen 1, 2 or 3 bearings utilize balls as opposed to rollers. Roller bearings have the advantage of a much greater contact area between the rollers and races, and therefore can support a heavier load. With use, they can develop a slight amount of play, but due to their contact area and load distribution, it didn’t have much of an effect. As long as they were cleaned, repacked and adjusted … er I mean properly pre-loaded, on a regular basis, they would last a long time.
Ball bearings, on the other hand, have a very small contact patch with the race. When the pre-load on these bearings is correctly set, then the geometrical relationship between the races and the rolling components is set.
The pre-load determines the exact location at which the roller balls will contact the inner and outer races. Modern vehicle suspension and steering no longer can be viewed as separate vehicle systems. They work in unison with ABS, traction and stability control and advanced driver-assistance systems. Not only must bearing pre-load be correct to avoid premature wear, but it’s also critical for handling and braking, as well as providing the correct alignment to ABS sensors that are built in or mounted to the wheel-bearing assembly.
It’s All About the Torque
Setting the pre-load on Gen 1, 2 or 3 wheel bearings is a different process, but simpler, at least from the process standpoint. There’s one step: Torque. Gen 1 bearings press into the steering knuckle, and this style of bearing certainly caused a few headaches to all of us until we became familiar with the requirements for replacing them. Gen 1 bearings have no pre-load when they’re manufactured. Not only must you use the correct procedures for pressing them in to prevent damage, but they also require either a spindle or axle shaft through the center that’s used to set pre-load and just simply hold the whole thing together.
The torque specification on the thru-shaft is generally a very high torque, and the torque must be set before putting the weight of the vehicle on the ground. If weight is put on the bearing prior to torquing it, the races and rolling components will be wedged out of place, preventing the torque from drawing everything into the proper geometrical alignment.
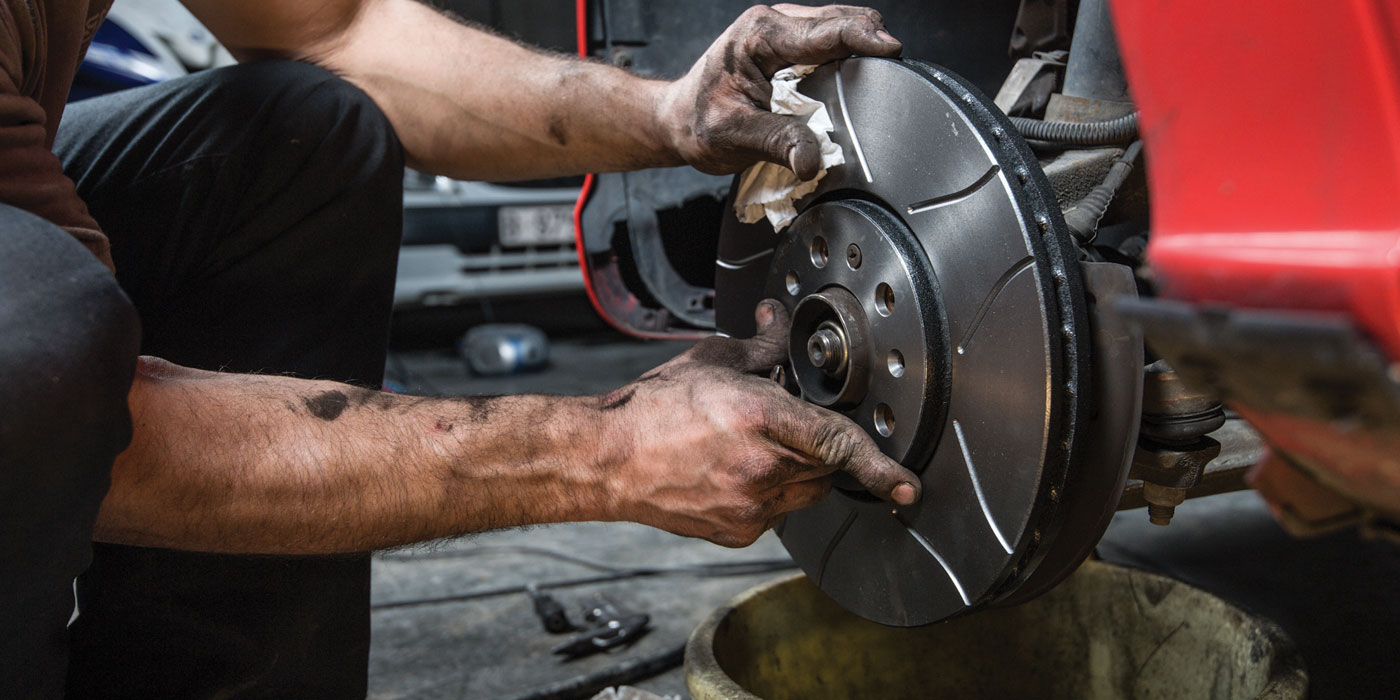
This was a mistake often made, as well as using an impact wrench to tighten the nut or bolt. The most common methods developed to torque Gen 1 bearings properly are one, to wedge a long prybar between the lug studs to hold the hub while torquing (this often requires help of another person). And two, if you have vented brake rotors, to slide a tapered punch into one of the vents and allow it to rest against the brake caliper bracket as you torque the nut.
Most of the time, manufacturers only gave us the torque specification, but no tips for actually attaining it safely, so we had to derive our own methods. I still always look at the specific procedure for any given vehicle, since it’s such a critical setting, and that’s always the best advice. Some thru-shaft bolts are torque-to-yield bolts, and they require an incredible amount of force to reach the specified setting.
In some of these cases, I’ve seen manufacturers specify an initial torque specification to align the bearing geometry, then to set the vehicle on the ground to perform the “stretching” of a torque-to-yield bolt. Even then it required a floor-jack handle on the end of a breaker bar, and the help of another person to reach the specification – all the while cautiously leaning away in hopes the breaker bar doesn’t snap like a toothpick.
It’s this one particular fastener, and only this fastener, that has led to many an auto technician buying a few ¾-inch-drive sockets and breaker bar – tools normally associated with heavy equipment and semi-trucks.
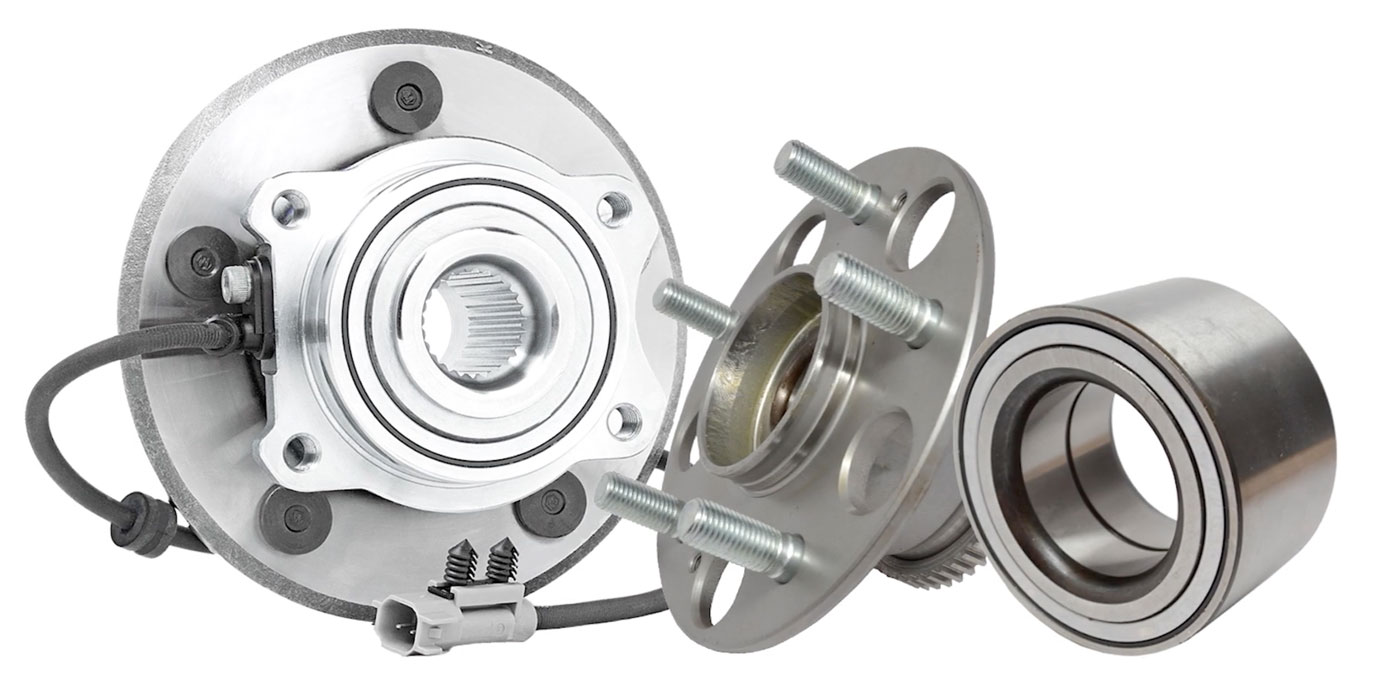
Gen 2 wheel bearings have a flange or hub pre-installed, and Gen 3 wheel bearings are a complete hub/mounting flange unit. These bearings are easier to install (at least in theory … but that’s a whole other story), yet the torque specification is just as critical, and that goes for the mounting flanges as well as a thru-shaft fasteners.
Some of these bearings are manufactured utilizing a process called roll-forming or orbital forming that sets the pre-load, but this is not always the case. If the bearing is for a non-driven application, and there’s no thru-shaft, then you know this is the case. Anything that has a thru-shaft – regardless of the manufacturing and whether a pre-load is set – relies on the proper torque to set or maintain the proper pre-load and bearing geometry. The bottom line is always follow manufacturer instructions to avoid problems. This is the best advice to your customer, because most wheel-bearing warranty issues are probably caused by incorrect installation.