Sealed-beam headlights were simple and easy. For years, that’s all there was. A headlight was held into its bucket by a round or rectangular stainless-steel trim piece, with either three or four screws. Sometimes you had to remove a decorative trim piece first, but still always just a few screws.
Then it got even easier throughout the 1980s as the industry transitioned from the traditional sealed beam to composite headlights with replaceable halogen bulbs. There wasn’t anything wrong with the sealed-beam design; they worked great. But there were only a few options, which limited automotive design.
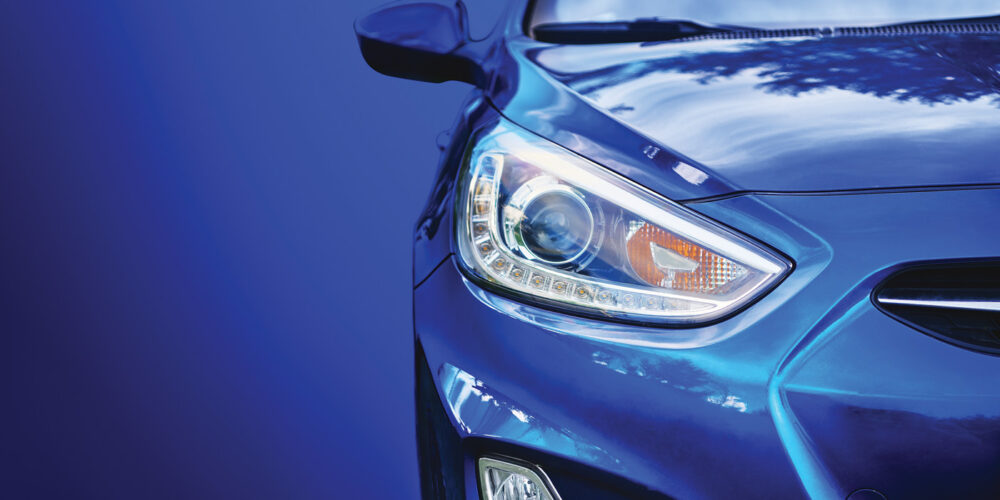
With composite headlights, automakers were designing cars with the look and aerodynamics that were previously restricted by one simple part. The best thing was, you simply opened the hood, and you could see the rear of the headlamps with the connector for the bulb protruding out the back. You unplugged the bulb, removed a retaining ring and out it came. It was that easy, and many still are that way. There’s not much to it.
Sticker Shock
However, all good things come to an end, and we’re seeing more and more cars where the aerodynamics, the shape of the front end and the tight, space-restricted engine compartments make it impossible to get to (or in many cases even see) the rear of the headlamp.
Often, you must completely remove the headlamp to access the bulb. Sometimes you have to remove fender liners, or in worst-case scenarios, even the bumper cover or grille. There are times when it may take 45 minutes or longer to replace a headlight bulb. It’s uncommon – but it happens, nonetheless.
Replacing headlight bulbs typically has been so simple for so long that most consumers have been programmed to think it’s a quick and easy job. You could literally replace one in less than a minute, and many shops – especially for regular customers – got in the habit of replacing them for only the cost of the bulb.
That’s become a thing of the past as they get harder and harder to get to. Imagine the consumer’s shock to tell them it’s going to be $50 to $70 in labor just to replace a headlight bulb. That’s when a lot of people decide they can do it themselves. How hard can it be after all? Either way, getting access to the bulb is Step 1. You’re home free after that, but there are a few particulars to pay attention to, which hold true for any headlight-bulb replacement.
Don’t Touch the Bulb
First and foremost: Don’t touch the bulb. Many people ask why. The natural oils on your skin will transfer to the surface of the bulb. As the bulb heats up, it expands. If there’s oil on it, that spot will get much hotter than the rest, expand at a different rate and cause it to crack or shatter.
The best advice is to leave the bulb in its packaging until after you’ve removed the original and are ready to reinstall the new one. Then carefully remove it, holding it by the electrical connector. Compare it to make sure it’s the same, then install it in the housing. If it does get oil on it or you accidentally touch it, you can simply wipe it down with rubbing alcohol and a clean rag.
Inspect the Wiring Connector
When the bulb is disconnected, it’s important to look closely at the wiring connector. It’s very common for them to be melted and burned. This often is the root cause of the headlight light not working as opposed to a bad bulb. It happens because headlight bulbs get very hot, and they go through continuous heat and cooling cycles. This constant expansion and contraction eventually weakens the tension on the electrical terminals, creating high resistance.
With resistance comes additional heat, and some aftermarket bulbs may draw a higher amperage than OE bulbs, compounding the problem. Since this problem is so common, most of the common wiring-harness connectors are readily available as a pigtail (connector with wires installed), and just have to be spliced onto the original harness. Some of them feature design improvements to handle higher heat and a higher current too.
If you’re replacing a sealed-beam headlight, it’s still a good idea to closely inspect the wiring connector. These often look OK, but don’t provide a good connection. They frequently go bad too due to corrosion and age, primarily because they aren’t sealed. These connectors are still available, as well as a pigtail harness.
The adjusters on sealed-beam headlights also break a lot simply due to age, but these are generally available too, so they’re a good upsell, and usually an easy one. Most cars with sealed-beam lights are classics, which people are willing to invest time and money in. With composite lights, this is the perfect time to sell a headlight polishing kit to bring clarity back to old lenses. So, changing headlight bulbs? It’s usually easy, but it can be hard, and there’s always an opportunity to help your customer make the most of the job.