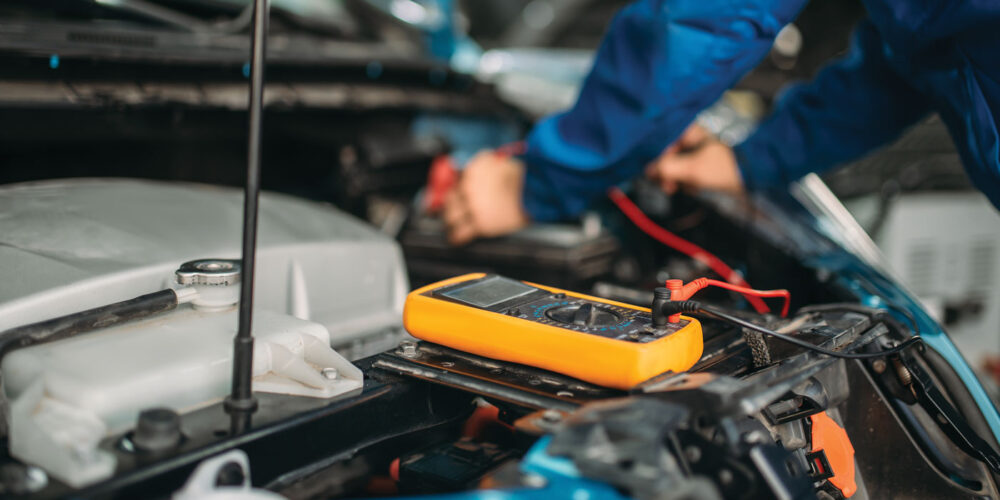
Electrical testing and diagnostics on today’s cars require a much greater level of precision than in the past. A modern digital multimeter (DMM), also known as a digital volt-ohm meter (DVOM), is a mandatory piece of equipment for automotive technicians, or anyone diving into the world of electrical diagnosis.
The reason again is precision. A test light has and always will be a simple yet valuable tool, and while an experienced technician can very effectively use one to diagnose many electrical problems, it’s not possible to discern minute changes in electrical properties by the intensity of the light. That’s where the DMM comes in.
Using a DMM overall is relatively simple, making them seem self-explanatory. However, since the features differ between makes, it’s important to review the manual that comes with any DMM, or you may misinterpret readings or miss out on some useful features.
If you’re new to electrical diagnosis, there are a few basic readings you’ll use most of the time. But, properly understanding the readings of a DMM comes down to your understanding of Ohm’s law – the formula used to calculate the relationship in an electrical circuit between voltage, current and resistance.
As you may have guessed, the three most common readings you’ll be after are voltage, current (measured in amps) and resistance (measured in ohms). The majority of all DMMs have a dial that allows you to select the measurement type. Some have more dial positions, and others with fewer dial positions rely on buttons that allow you to toggle between different modes at the same dial position.
Taking a measurement is as simple as selecting the measurement type, connecting the test leads to the proper terminals on the DMM, and then to the circuit you’re testing. It’s important to check that you have the test leads in the proper terminals every time you perform a test. There is always a common terminal, labeled “COM,” which is for the negative or black test lead, and this is the return terminal for all measurements.
The red (positive) lead must be connected to the specific terminal for the test you’re performing. Volts and ohms utilize the same terminal; amps and milliamps use their own, and for additional tests, the terminals are marked for the tests they perform. If the test leads are in the wrong terminals, you won’t get the reading you’re looking for, but the more important factor to remember is that the amperage terminals on the DMM are fused to prevent damage to the meter if there’s too much current.
If you’re checking current flow in a circuit, and then decide to check voltage but forget to switch the location of the test leads, pop! There goes the fuse. They’re internal to the multimeter and usually expensive. It’s a lesson that we’ve all learned the hard way.
Common Readings
So, let’s look at the three common readings. For voltage, set the dial to the DC voltage setting. Note that AC voltage is a different setting and different symbol. The test leads should be placed with the black in the COM terminal and red in the terminal marked “V” for volts. Touch the black test lead to the negative terminal or ground, and touch the red test lead to the positive voltage source, and voltage will be displayed on the screen.
If you have the leads reversed, the voltage will read the same, but the meter will indicate reversed polarity. Most meters are auto ranging, meaning they automatically select the range with the best resolution, and keep this in mind for all readings. If you’re not sure about the value on the screen, there will be an indicator that tells you the range the meter is in.
When you’re working on a typical internal-combustion-engine vehicle that operates on a 12-volt system, voltage measurement doesn’t usually get too confusing, but ranging is much more important to pay attention to when measuring resistance. Depending on the component you’re testing, resistance values can have a much wider range, and getting the decimal point in the wrong place can completely throw off your assessment of the reading.
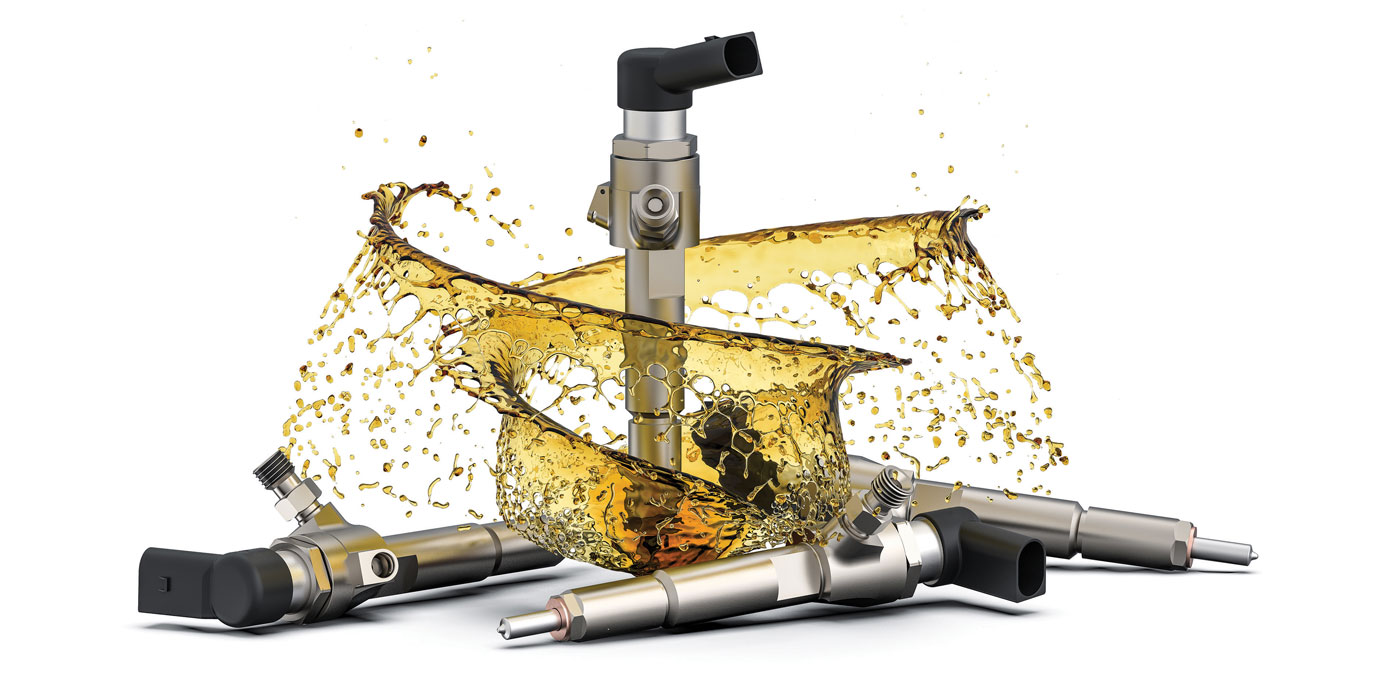
Checking resistance is a common diagnostic procedure for testing the integrity of wiring or connections, as well as internal-component circuits such as those in ignition coils or fuel injectors. For resistance testing, with the meter leads in the proper terminals, set the dial to resistance. Meter leads are then placed at two points in a circuit – for example two ends of a wire, or two specific terminals on a suspected component.
In order to measure resistance, all power must be off or disconnected from the circuit being tested. A DMM performs the test by outputting a small amount of voltage into the circuit, and by measuring the return voltage or voltage drop, it calculates the resistance using Ohm’s law. For this reason, when checking the resistance of wiring, the circuit cannot be powered up.
The final one, current, requires moving the dial to the correct amperage setting and moving the test leads to the correct amperage terminal, which can differ based upon the amount of amperage you expect to see. If you’re uncertain if the current will be too great for the milliamp or microamp setting, begin with the amperage input terminal first.
Measuring current flow requires that the meter be connected in series with the circuit, as if it were part of the circuit itself, so the current can be measured as it flows through the meter. While the DMM will provide a very accurate reading, the drawback to this is you must locate a point where the circuit can be disconnected in order to connect the meter. The other drawback, as pointed out earlier, is the limited amount of current a DMM is able to measure.
A useful accessory you can buy for a multimeter is a current clamp, which measures current flow through inductance. This eliminates the need to create a connection point in the circuit; you simply clamp the jaws of the current clamp around a wire. The other advantages are that it eliminates the possibility of blowing the fuse with too high a current, and it allows you to use your DMM for higher current readings.
These three common measurements are just the beginning of what you can do with a DMM. Frequency, duty cycle and diode testing also are common in automobile diagnostics, all of which are standard measurements for most DMMs. It’s a tool, in conjunction with an understanding of Ohm’s law, that will expand your diagnostic ability.