rack: noun
1. The linear component of a rack and pinion gearset.
2. The short name given to a rack and pinion steering assembly for an automobile.
This is one of those times when the same word is used over and over to describe two things that are related but different. When I first learned about rack-and-pinion steering, it was anything but new. Nonetheless, in my world, I was used to traditional. I was among the guilty who shunned things that in no way could ever be better than a carburetor, points, condenser and crank windows.
When it came to steering, if it didn’t have a steering box, pitman arm, idler arm and a center link, it probably wasn’t a real car.
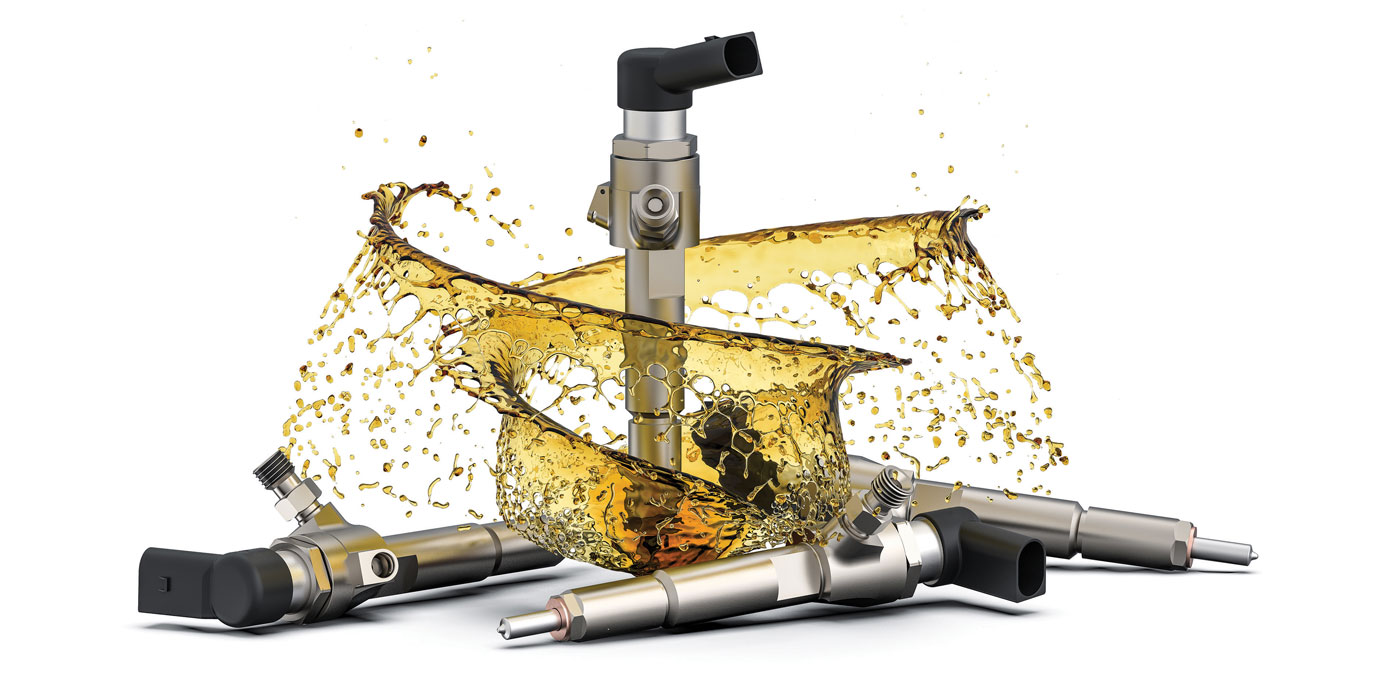
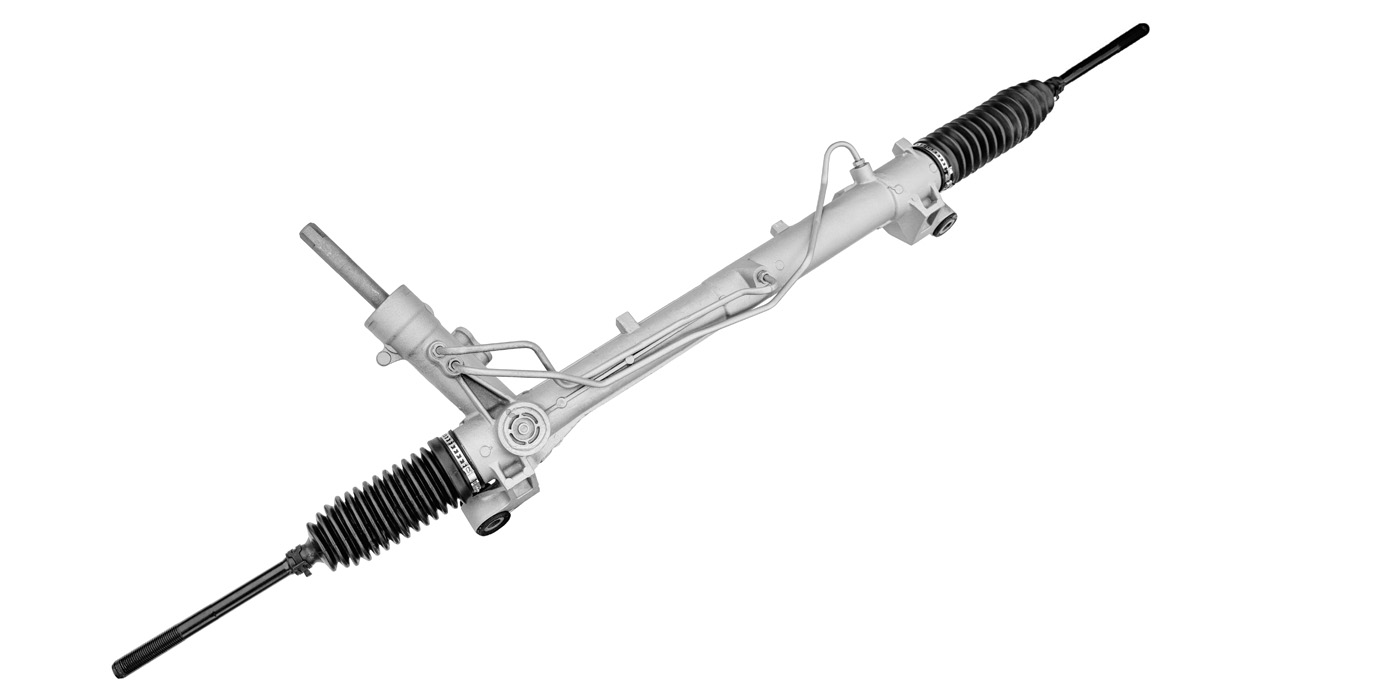
You laugh, but now, so do I. Automotive technology always has changed for the better, and rack-and-pinion steering just made sense. It was simple, less expensive, lighter-weight and simple to maintain. The term “rack and pinion” describes a type of gearset that transfers rotational motion into linear motion. In the case of an automotive application, the rack-and-pinion gearset is housed in a unit that we simply refer to as the steering rack, or rack for short.
So, a steering rack transfers the rotational motion of the steering wheel into the linear motion required to move the tie rods left or right for steering. They initially became commonplace on small economy cars and were additionally well-suited for front-wheel-drive applications due to the limited space they require. Now, almost every new car, SUV and light truck on the market has rack-and-pinion steering.
A simple design and low maintenance are benefits of a steering rack, but that doesn’t mean they haven’t caused a headache or two over the years – and there are many questions you’ll still field about these systems. While they’re too difficult to describe, the service aspect is where you’ll get most of the questions, and this is where your customers will benefit from your knowledge. After all, as a counter professional, you’re in the business of answering questions.
Many early steering racks on small cars were simple manual racks with no hydraulic assist. These were my favorite. They rarely developed any problems and, in many cases, would last the life of the vehicle. Then, cars got heavier, people got softer and hydraulic power steering for the most part became standard. Today, electric power steering is taking over, and in many ways with the lack of a hydraulic pump, hoses, lines and leaks, it has brought back the simplicity of the original manual rack.
Although many aspects are the same regardless of the type of assist, in this article I’m going to focus on hydraulic power-steering racks. They’re still going to be around for some time, and service considerations are where you’ll get most of your questions. Making sure the job is done right is important for not only safety and efficiency, but it also helps prevent unnecessary warranty hassles.
First and foremost is power-steering fluid. It’s commonly overlooked and neglected. The valving and seals inside a hydraulic power-steering rack rely on clean fluid for proper operation, and just like any other fluid service, ignoring this can shorten the life of the steering rack. When replacing a rack, fluid should be drained and flushed as best as possible, and it’s a good idea – as well as a good upsell – to install an inline filter. Most of these types of filters work with a magnetic mesh that’s especially beneficial to trap small metal particles.
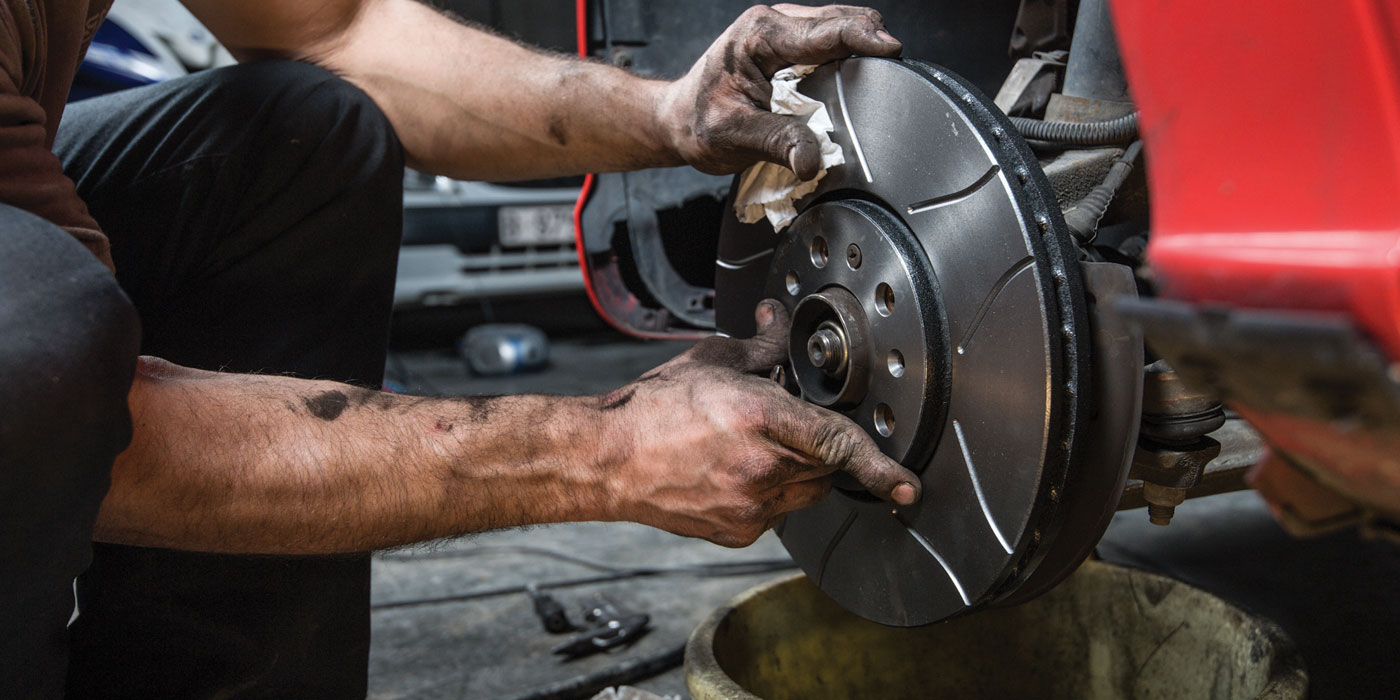
One of the most common problems to arise is a torn rack boot. These rubber bellows-style boots expand and collapse every time you turn the wheels, and it’s just unavoidable that they eventually wear out. There are two immediate problems with this. One, the inner tie-rod ends will collect dirt in the grease that lubricates them, and two, dirt and debris will be drawn into the rack seals every time you turn, eventually causing damage and leaks.
Torn boots should be replaced as soon as possible when they’re discovered, and the vast majority of them require the removal of the outer tie-rod end. An alignment is required afterward – no ifs, ands or buts.
Worn inner tie rods are another common problem, and while “technically” not part of the steering rack, service procedures can affect the integrity of the rack. Many new racks come with new inner tie rods and boots pre-installed to prevent damage from incorrect installation, so the boots keep everything sealed up from the start.
Most of the time, replacing the inner tie rods requires a special tool, kind of like a deep socket on steroids – deep enough to reach over the length of the tie rod and access the inner end where it bolts to the rack. On the end of the tool is a half-inch square drive. The factor to be aware of is that by-the-book service procedures call for holding the rack (the actual internal component) in a soft jaw vise when removing or installing the inner tie rod, so you don’t twist it and risk damaging the pinion gear.
The problem is in practice, this is rarely done because there’s no way to do it with the entire assembly installed in the car. There’s simply no access to get any type of holding fixture onto the actual rack. For fun, I looked up the top videos on the internet for installing inner tie-rod ends, and none of them mention holding the rack. Perhaps because they don’t want you to know they didn’t do it, or they don’t know the solution because there really isn’t a good one – at least not one I’ve learned of yet.
You might be able to get locking pliers clamped onto the rack to hold it, but that would gouge the machine-finished surfaces and tear up the rack seal, so that’s out. So, how serious is the problem? Most inner tie rods don’t require very high torque, and many of them use a type of thread locker, a locking nut or a type of retainer to prevent loosening. The bottom line is, if you use hand tools to loosen and tighten the inner tie rod, and slowly torque it to the correct specification during installation, the pressure against the pinion is going to be minimal, and damage is unlikely.
Whatever you do, use hand tools. Do not use an impact wrench on the end of the inner tie-rod tool. This will transfer a series of blows directly into the pinion and the valve assembly inside the unit, and you could be asking for trouble.
As mentioned before, any time the rack or a tie-rod end is replaced, an alignment will need to be performed. But, just as important is any time the rack is being replaced, the steering shaft will be disconnected. Always make sure the steering wheel isn’t allowed to spin free, or the airbag clock spring will be damaged. Also, make sure the rack is in its centered position before initially disconnecting the steering shaft and before reinstalling it.
Quite possibly the most useful tip for new steering-rack installation involves cleaning the splined steering-shaft connection. It’s a precision fit. In other words, both sets of splines need to be perfectly clean. If they are, they’ll slide right together. If not, you’ll fight it forever. Many new (or remanufactured) racks are painted, and it’s not uncommon for overspray to get on the splines. This may seem inconsequential, but the thickness of the paint is enough to cause a nightmare.
There are many opportunities for upsells with steering racks and related services. Outer tie-rod ends are often replaced one at a time and, in many cases, this is all that’s needed. Still, it’s a good reminder to check the rack boots and other ends closely. Since an alignment will be required, it’ll save money in the long run to take care of any pending issues now.
If you’re replacing an inner tie rod, you’ll already have the outer and the boot off. It’s often much easier to replace them too. Brake/parts cleaner is a good solvent for cleaning out reservoirs and lines, but make sure they’re allowed to completely dry before sealing the system up. I like to use clean power-steering fluid as a final flush to make sure any trace of solvent is gone, so selling a little extra is a good idea.
Tool upsells can include the inner tie-rod tool, an outer tie-rod separator and a grease gun if grease fittings are included on any of the front-end components.
The crowning touch is service information for torque specifications and bleeding procedures. Everyone should have a manual, and you’ve got them on the shelf, right? This is the perfect job to recommend one.